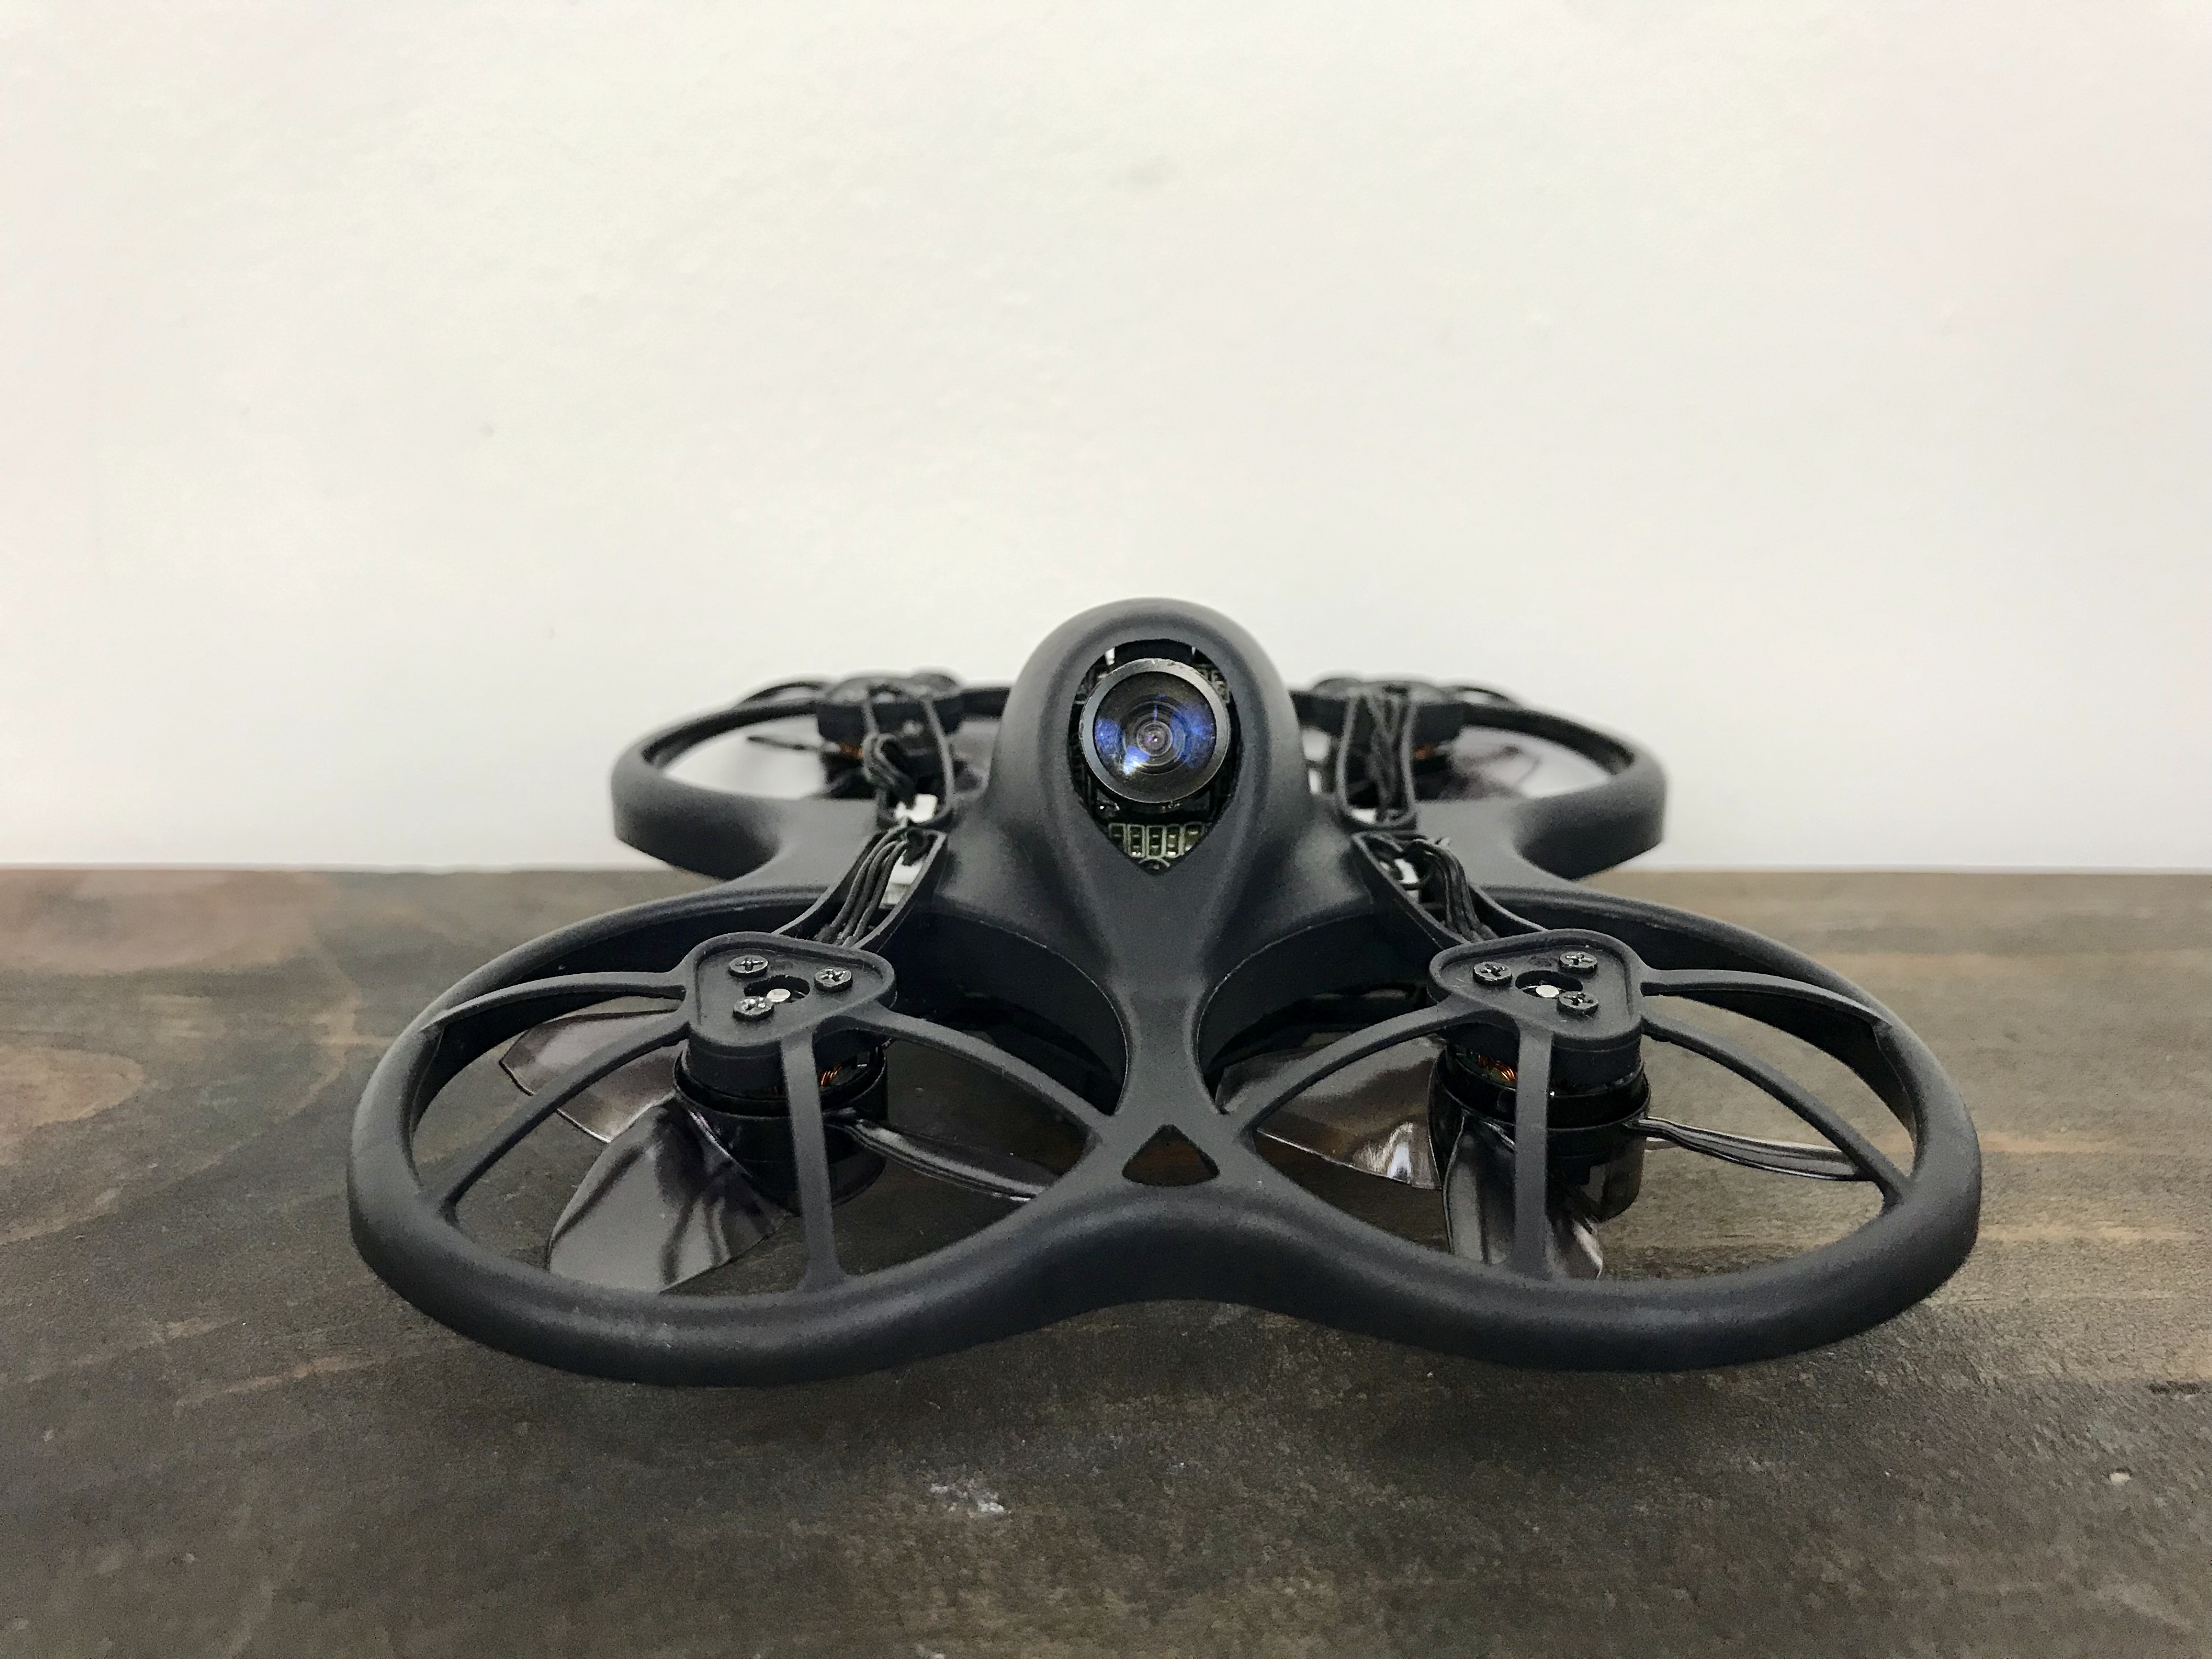
I love the Emax Tinyhawk. It is absolutely one of the best beginner FPV quads that you can buy. It is incredibly durable, fun to fly and the ready to fly package might just be the best FPV deal on the planet. I’ve flown hundreds of batteries with this quad. That means I’ve crashed it hundreds of times. It has withstood my beatings until I power looped it into the concrete. So I decided to upgrade the frame to a slick matt black one. It turns out that isn’t a super tricky process. I ordered the new frame and props from Good Venture Drones, but you can also pick them up from Amazon. Check it out.
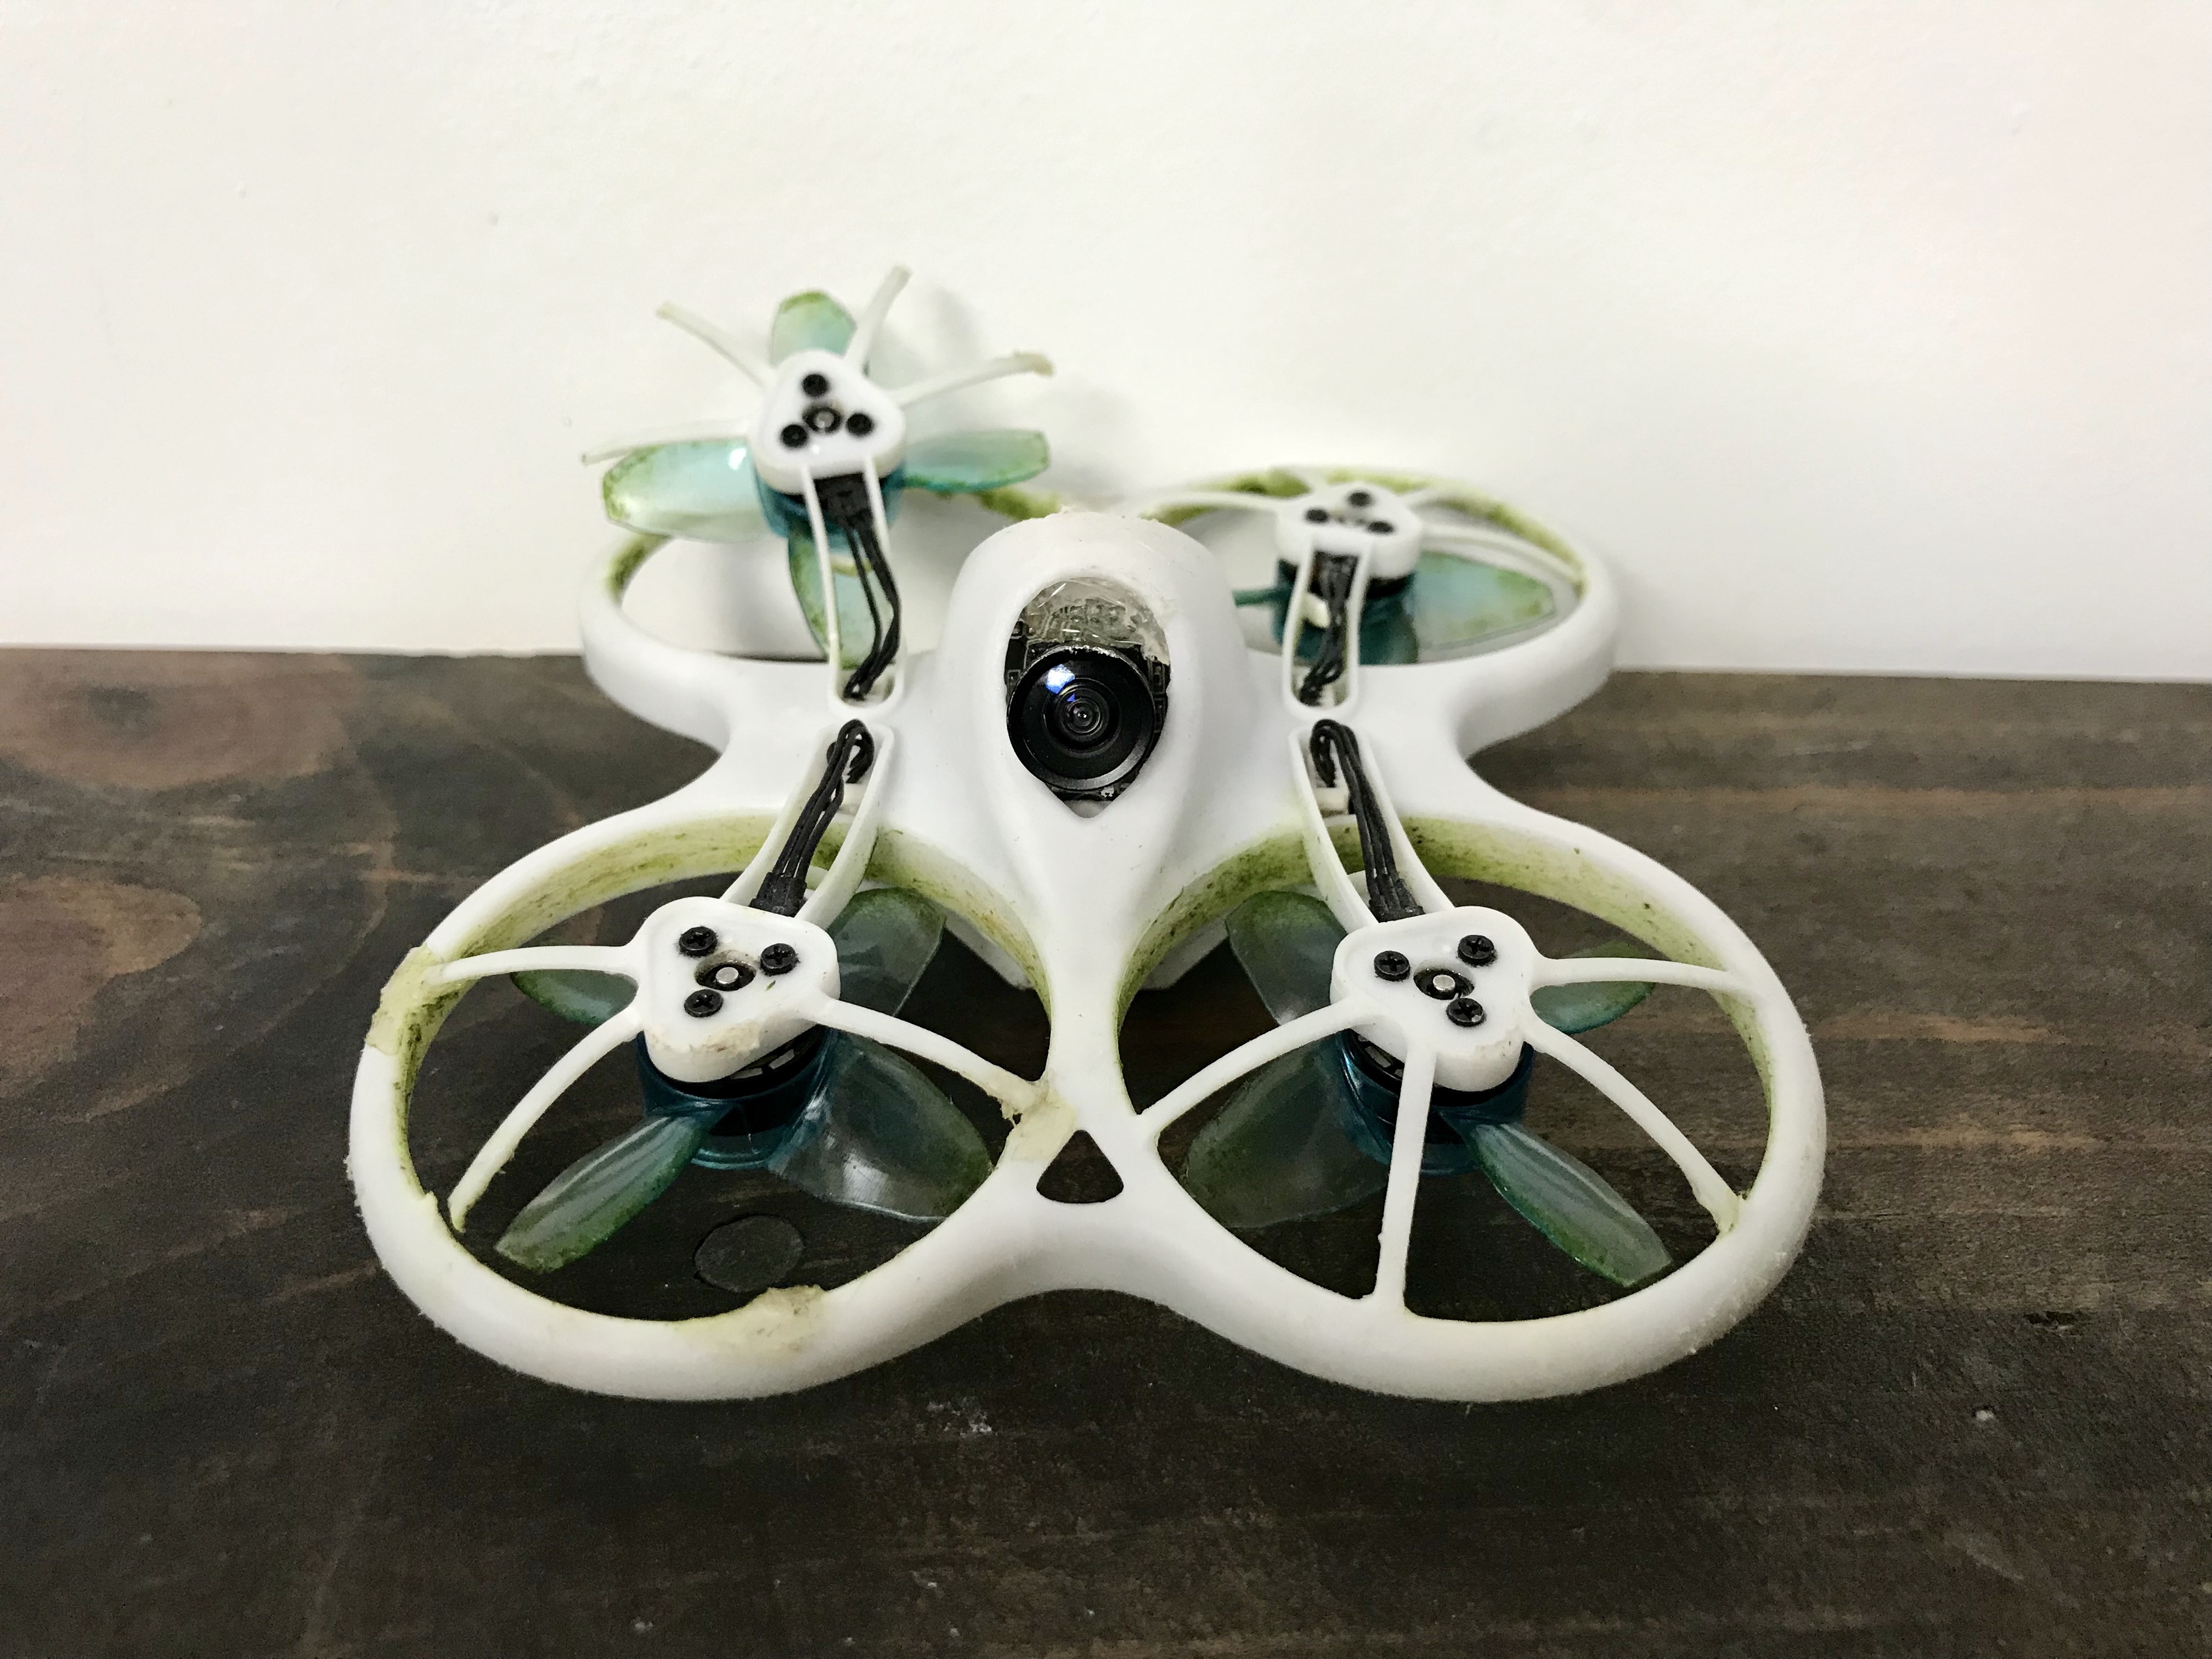
Upgrade your Emax Tinyhawk frame
The process isn’t incredibly tricky, and we will walk you through it. The new frame looks fantastic plus you have two different camera angle options to choose from. I highly recommend switching from three-blade to four-blade propellers. They will give you the ability to flip over in a crash and I think they have a little more grip to them than the factory three-blade propellers.
Step One: Remove the propellers.
The props are the first thing you’ll need to remove. If you care about your old frame you’ll have to work delicately. If not then pull away. You may want to use a small screwdriver to push the pin on the bottom to hold the motor down as you pull away. Give the props a twist and make sure you are careful with the spindles.
Step Two: Remove the battery holder.
There are four small screws. The battery wire won’t fit through the hole. I used a pair of clippers to cut it so I could remove the battery cover. You could desolder it, but I don’t think it is necessary. Use a magnetic tray or someplace to keep your small screws from walking off.
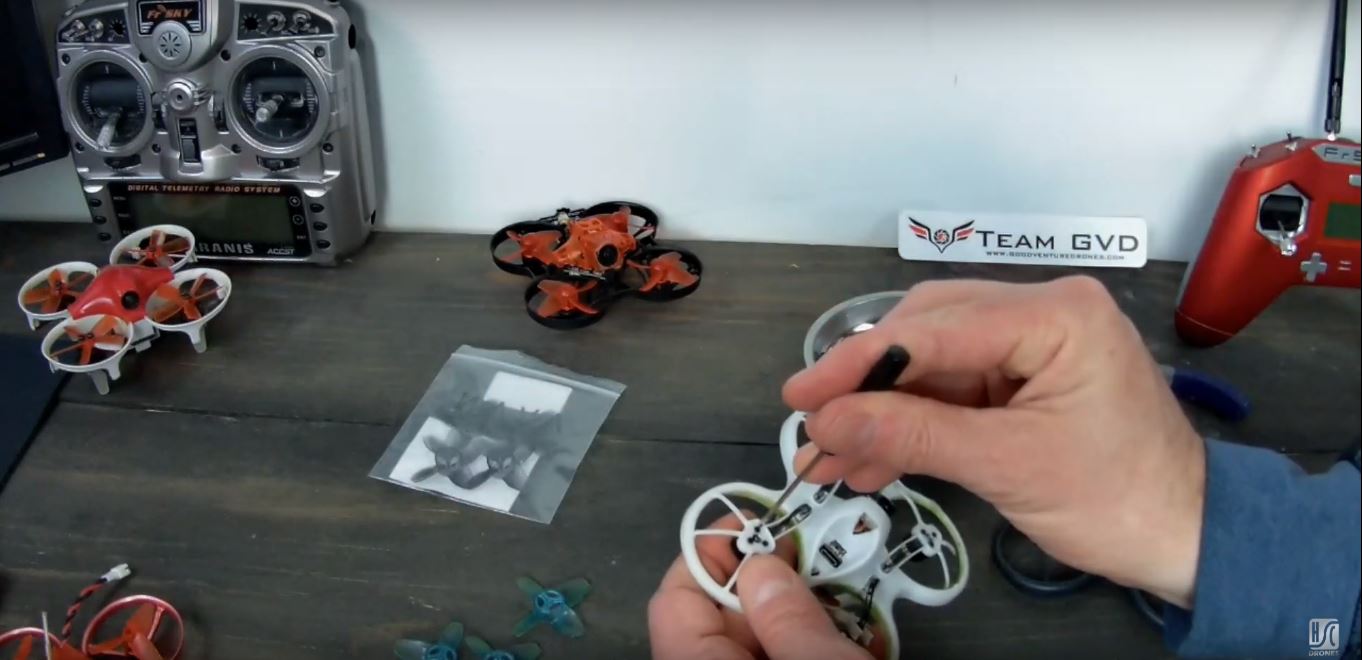
Step Three: Remove the motors.
Each motor has three small screws and then they unplug from the flight controller.
Step Four: Remove the camera.
The camera will slide out fairly easily. I used hot glue to keep it from moving after a crash. I would suggest hot glue to help you keep it in place.
Step Five: Add the camera to the new frame.
Now you are on to rebuilding your Tinyhawk. The new frames have two mounting angles for your camera. I chose the back mount for a steeper and more aggressive camera angle.
Step Six: Put the flight controller and battery holder in place.
You’ll need to tuck the antennas into place when you put the flight controller back. The battery cover will hold it down with the four screws. Make sure you have the battery wires in the back. I again used a pair of clippers so I didn’t have to resolder the wires.
Step Seven: Add your motors.
Now you can put your motors back into place. Make sure they are clean and free from any debris. Three small screws and then plug them in.
Step Eight: Add your propellers.
You’ll definitely want to double check to make sure you put them on in the correct orientation. They aren’t super easy to get on or off. I highly recommend the four-blade turtle mode propellers. They are an absolute time saver.
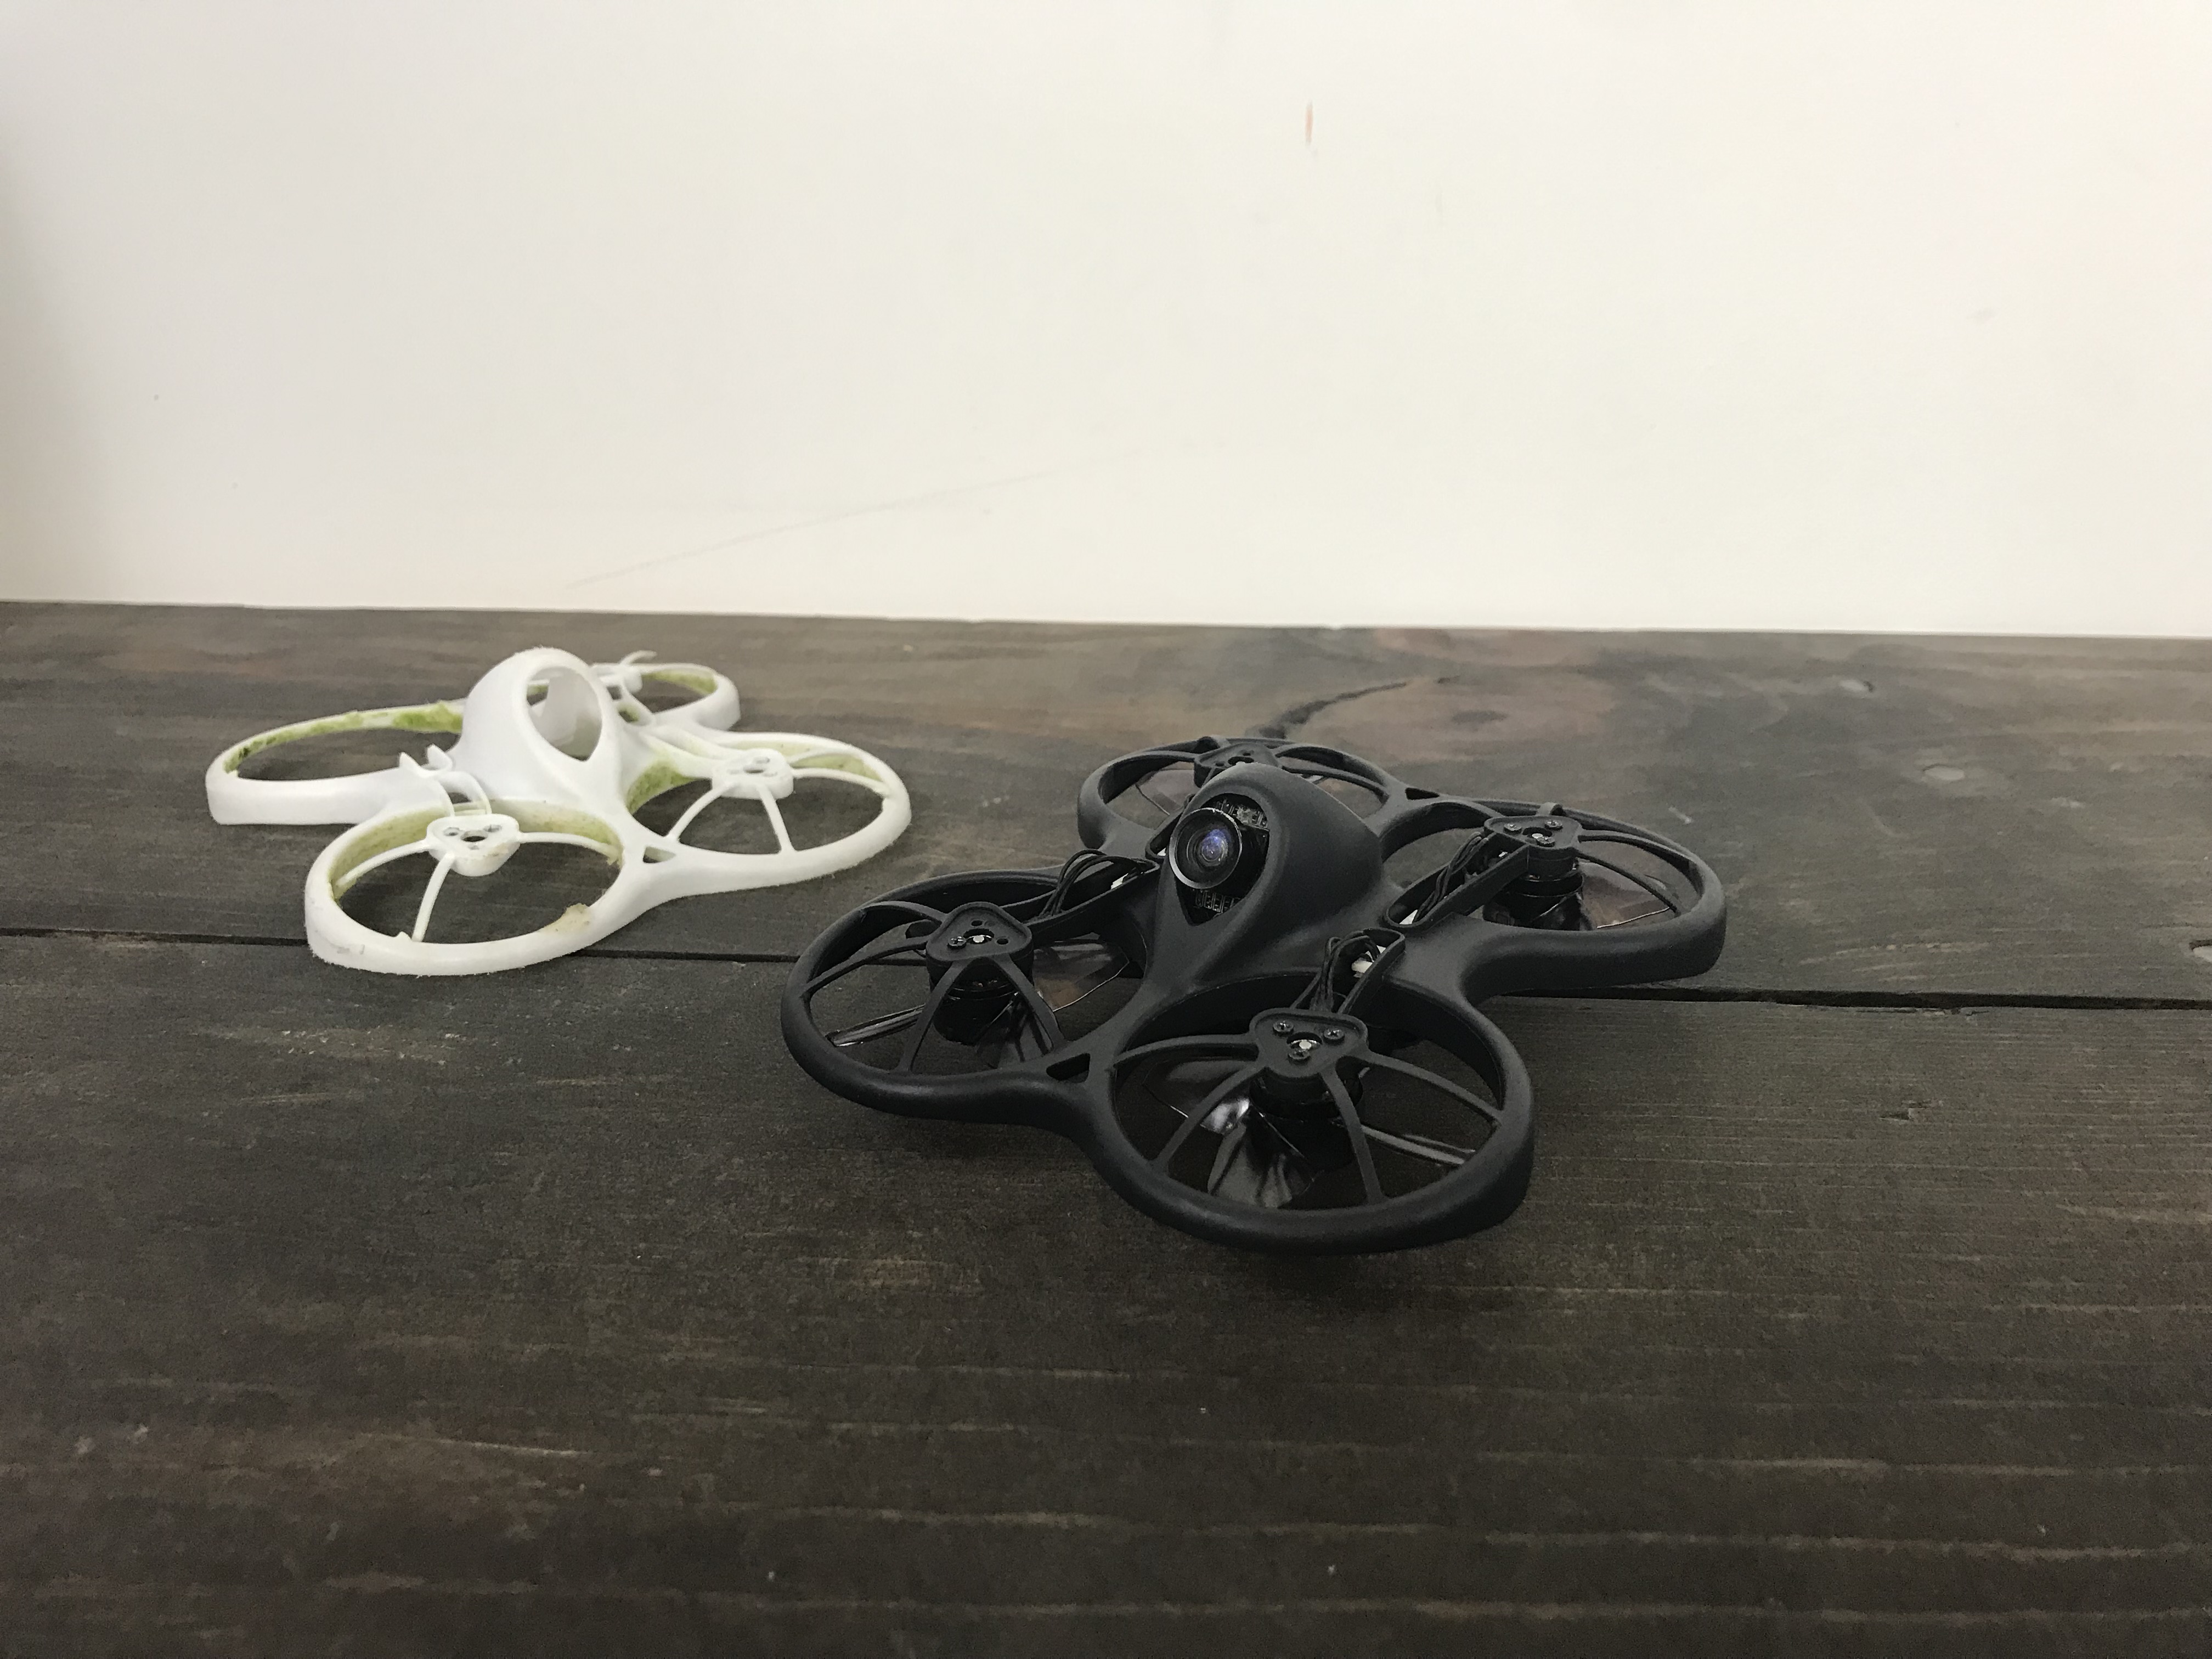
Step Nine: Go fly.
| Buy a new Tinyhawk frame | Buy some turtle mode propellers |
Thanks for visiting Half Chrome
Make sure you check out our YouTube channel so you can stay up to date with all things drone. Whether it is an aerial photography machine from DJI or a lightning fast FPV racer we have you covered. We also use Facebook, Instagram, and Twitter to keep our readers and viewers up to date.
If you want to buy a drone we highly encourage you to use the links in the article above. By using them we’ll make a small commission but won’t cost you anything extra. It is how we are able to keep producing content for you. Check out our shop tab at the top for deals from Amazon, DJI, Banggood and more.
Make sure you check out some of our more popular pages like Best Drones Now, Aerial Photo Tips, Top Accessories and All Things FPV. Happy Flying.
Disclosure:
This website contains affiliate links, which means we receive a commission if you make a purchase using these links. For full details visit the disclosures and disclaimers page.


