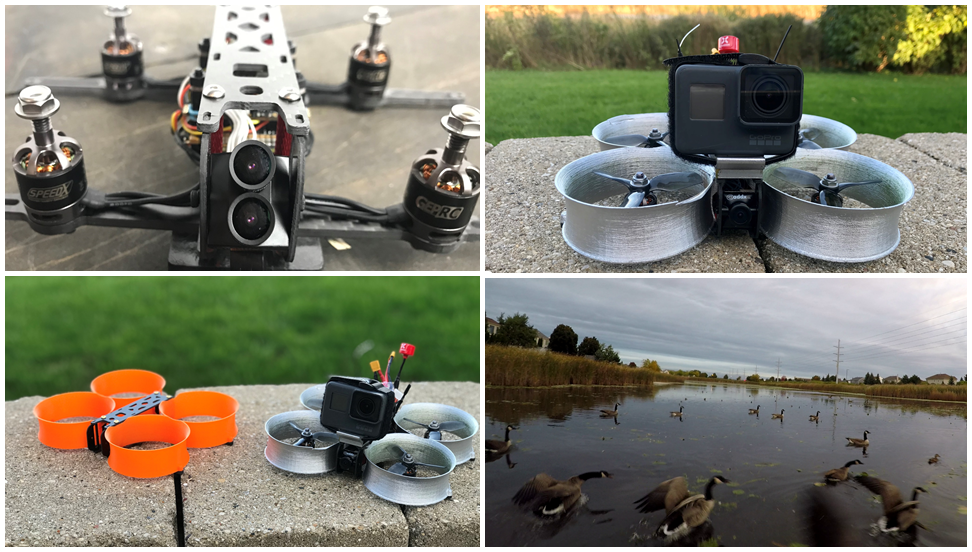
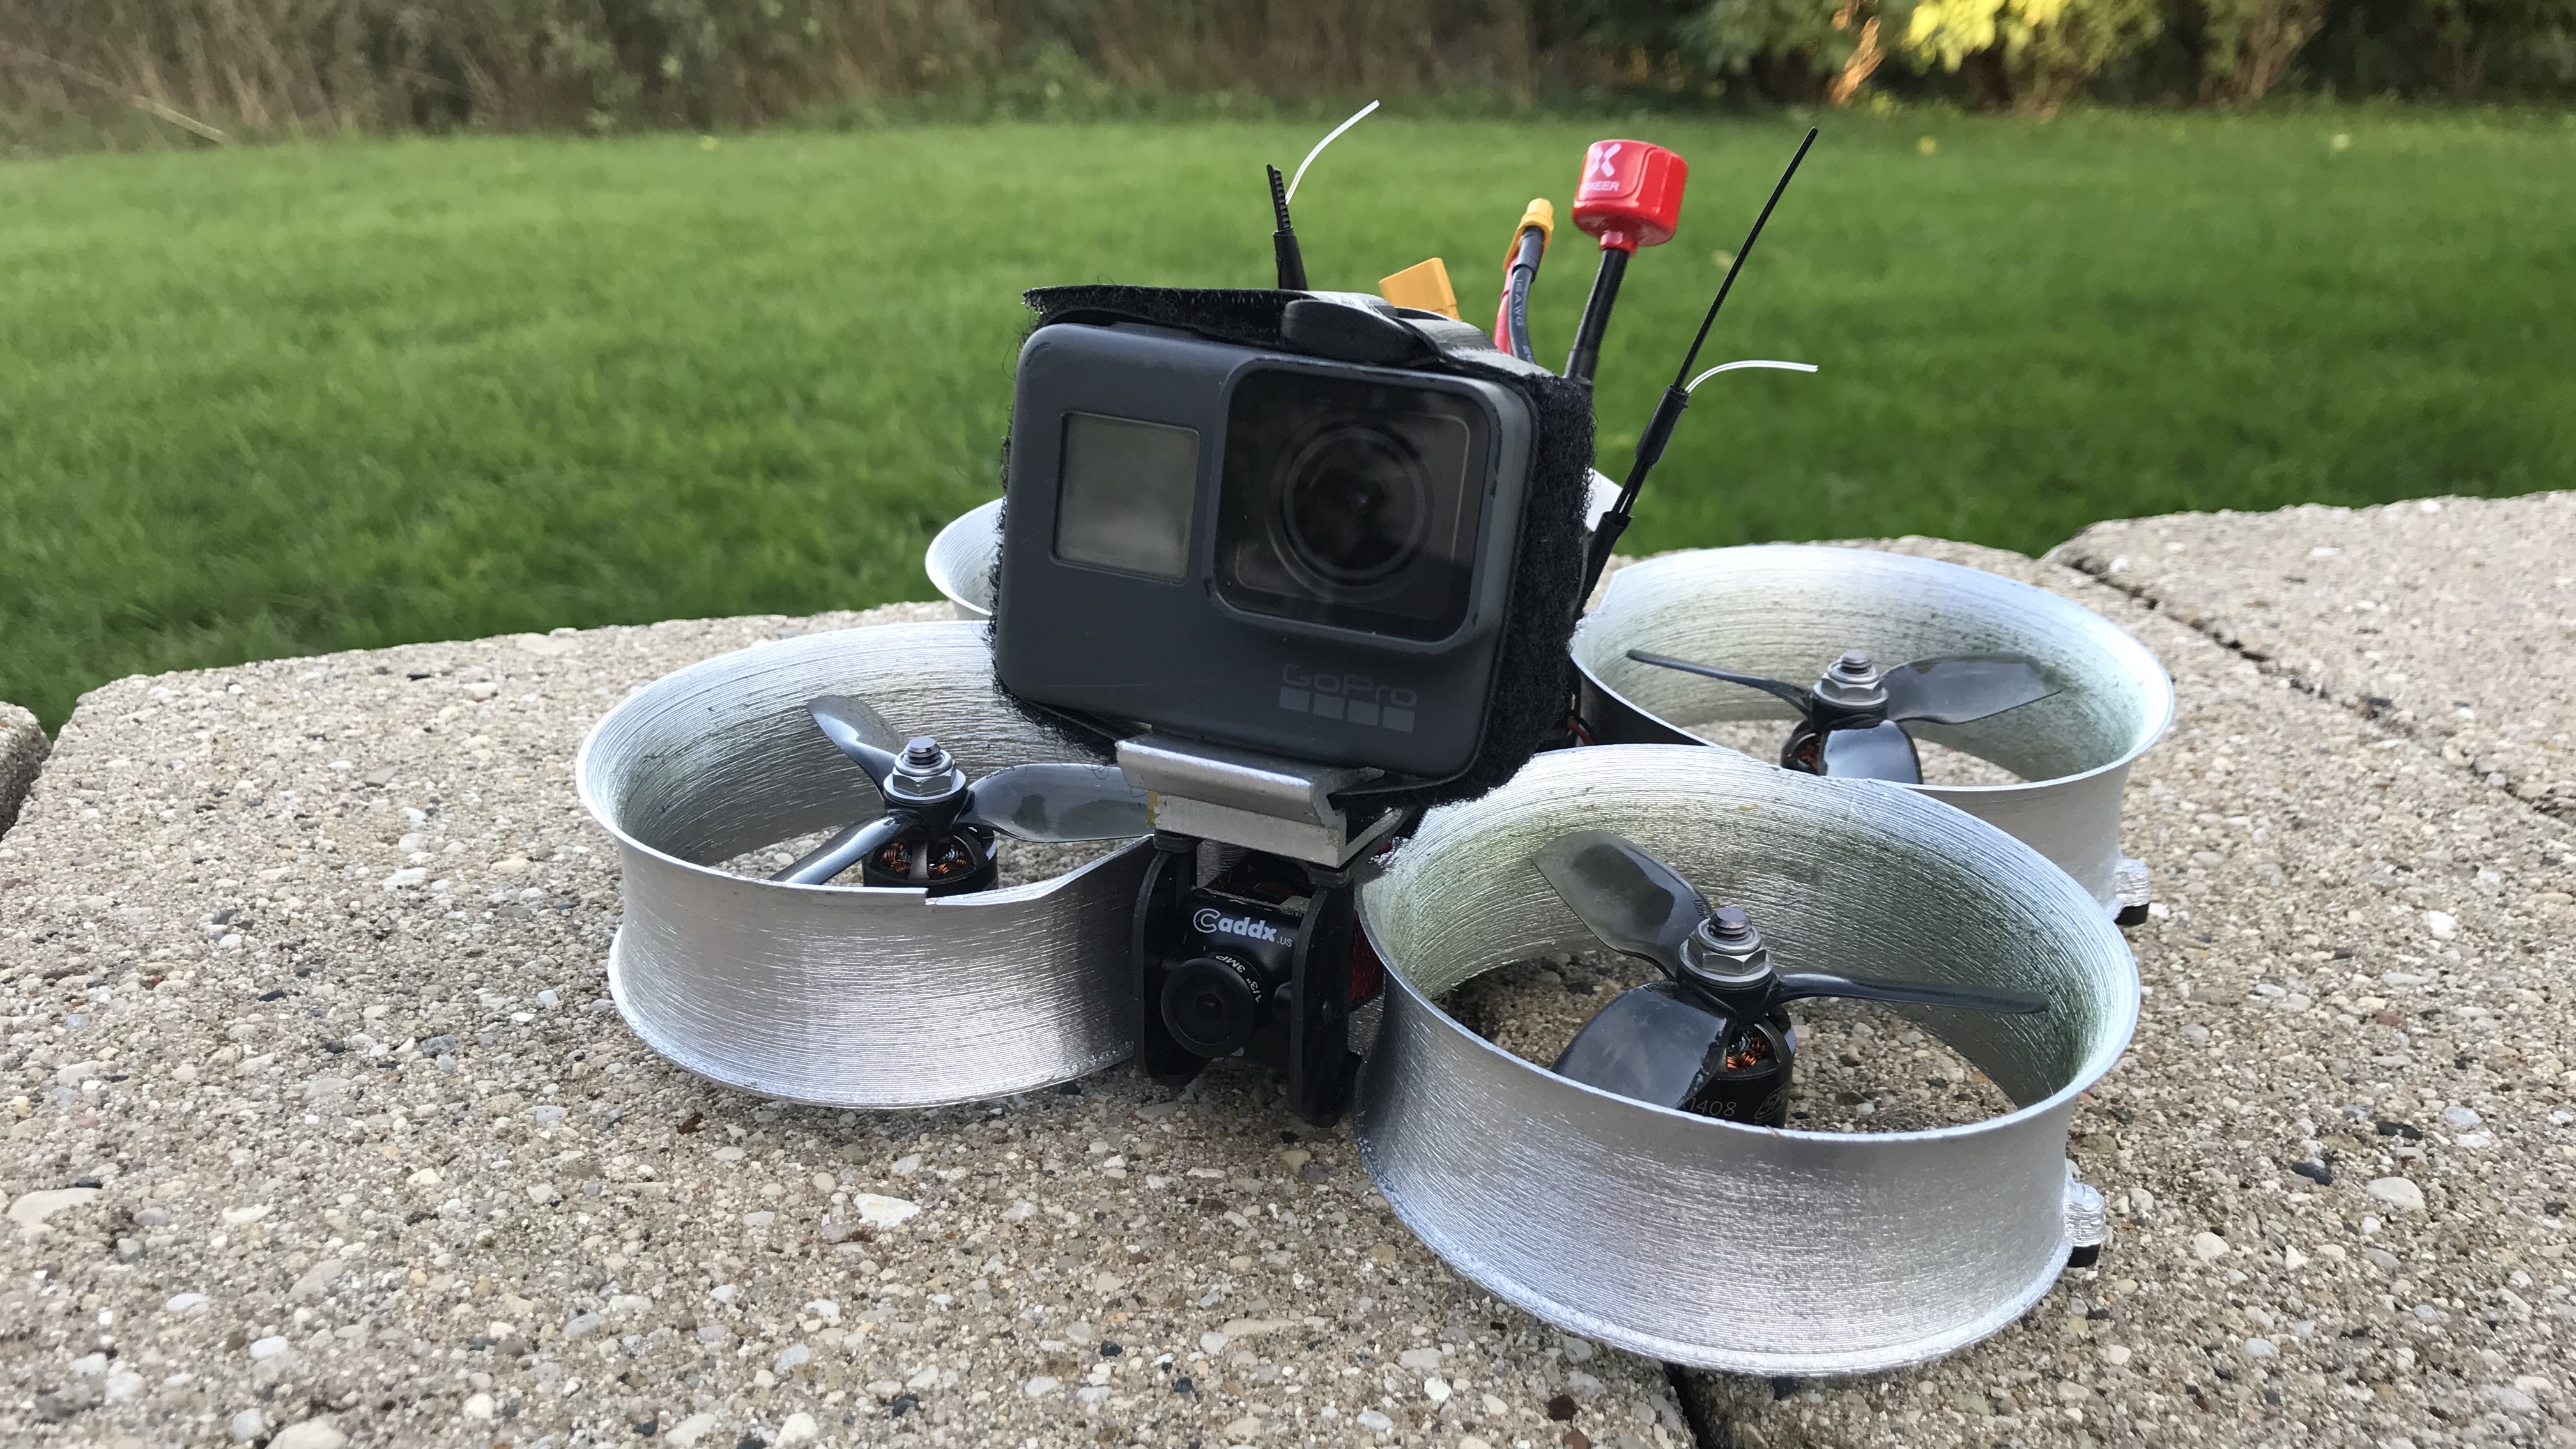
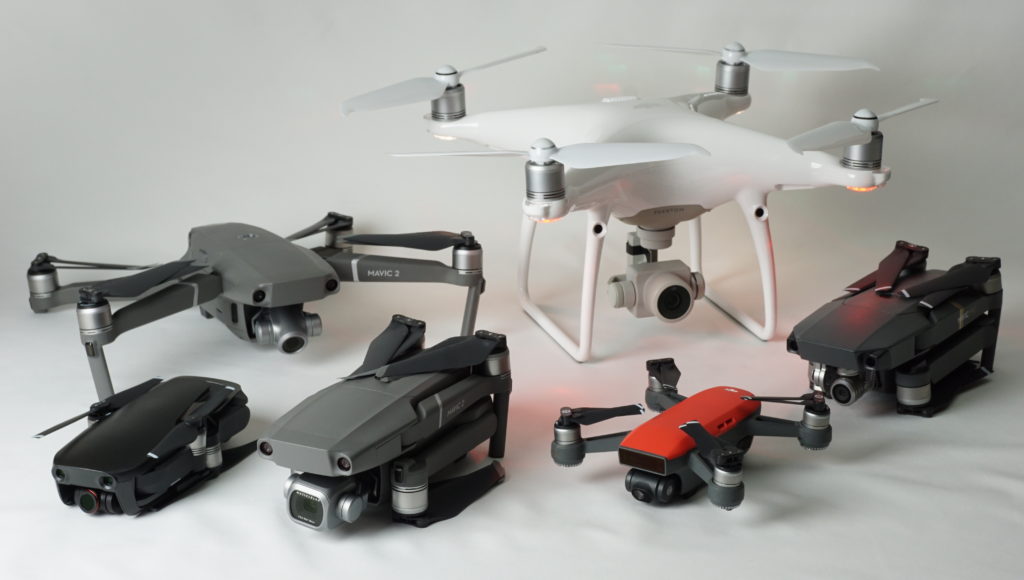
The Cinewhoop is an awesome style of drone that can capture crisp HD footage that just a machine like the DJI Mavic 2 just wouldn’t be capable of producing. They are small, stable and safer than your typical FPV drone, and you can capture some pretty amazing cinematic footage. There are some small inexpensive options out there like the Eachine Cinecam but those little drones can’t carry a GoPro or Osmo Action camera. The best ready-made option might be the iFlight Megabee, but it is $285. I wanted to build one myself and it absolutely can be done for less than $200.
It took some time and a bit of research but I was quite pleased with how the cinewhoop turned out. It flies well and captures smooth footage. Building it was no more difficult than any other FPV build. If you aren’t well versed in building or you aren’t a DIYer there are plenty of good build videos out there that can walk you through the process.
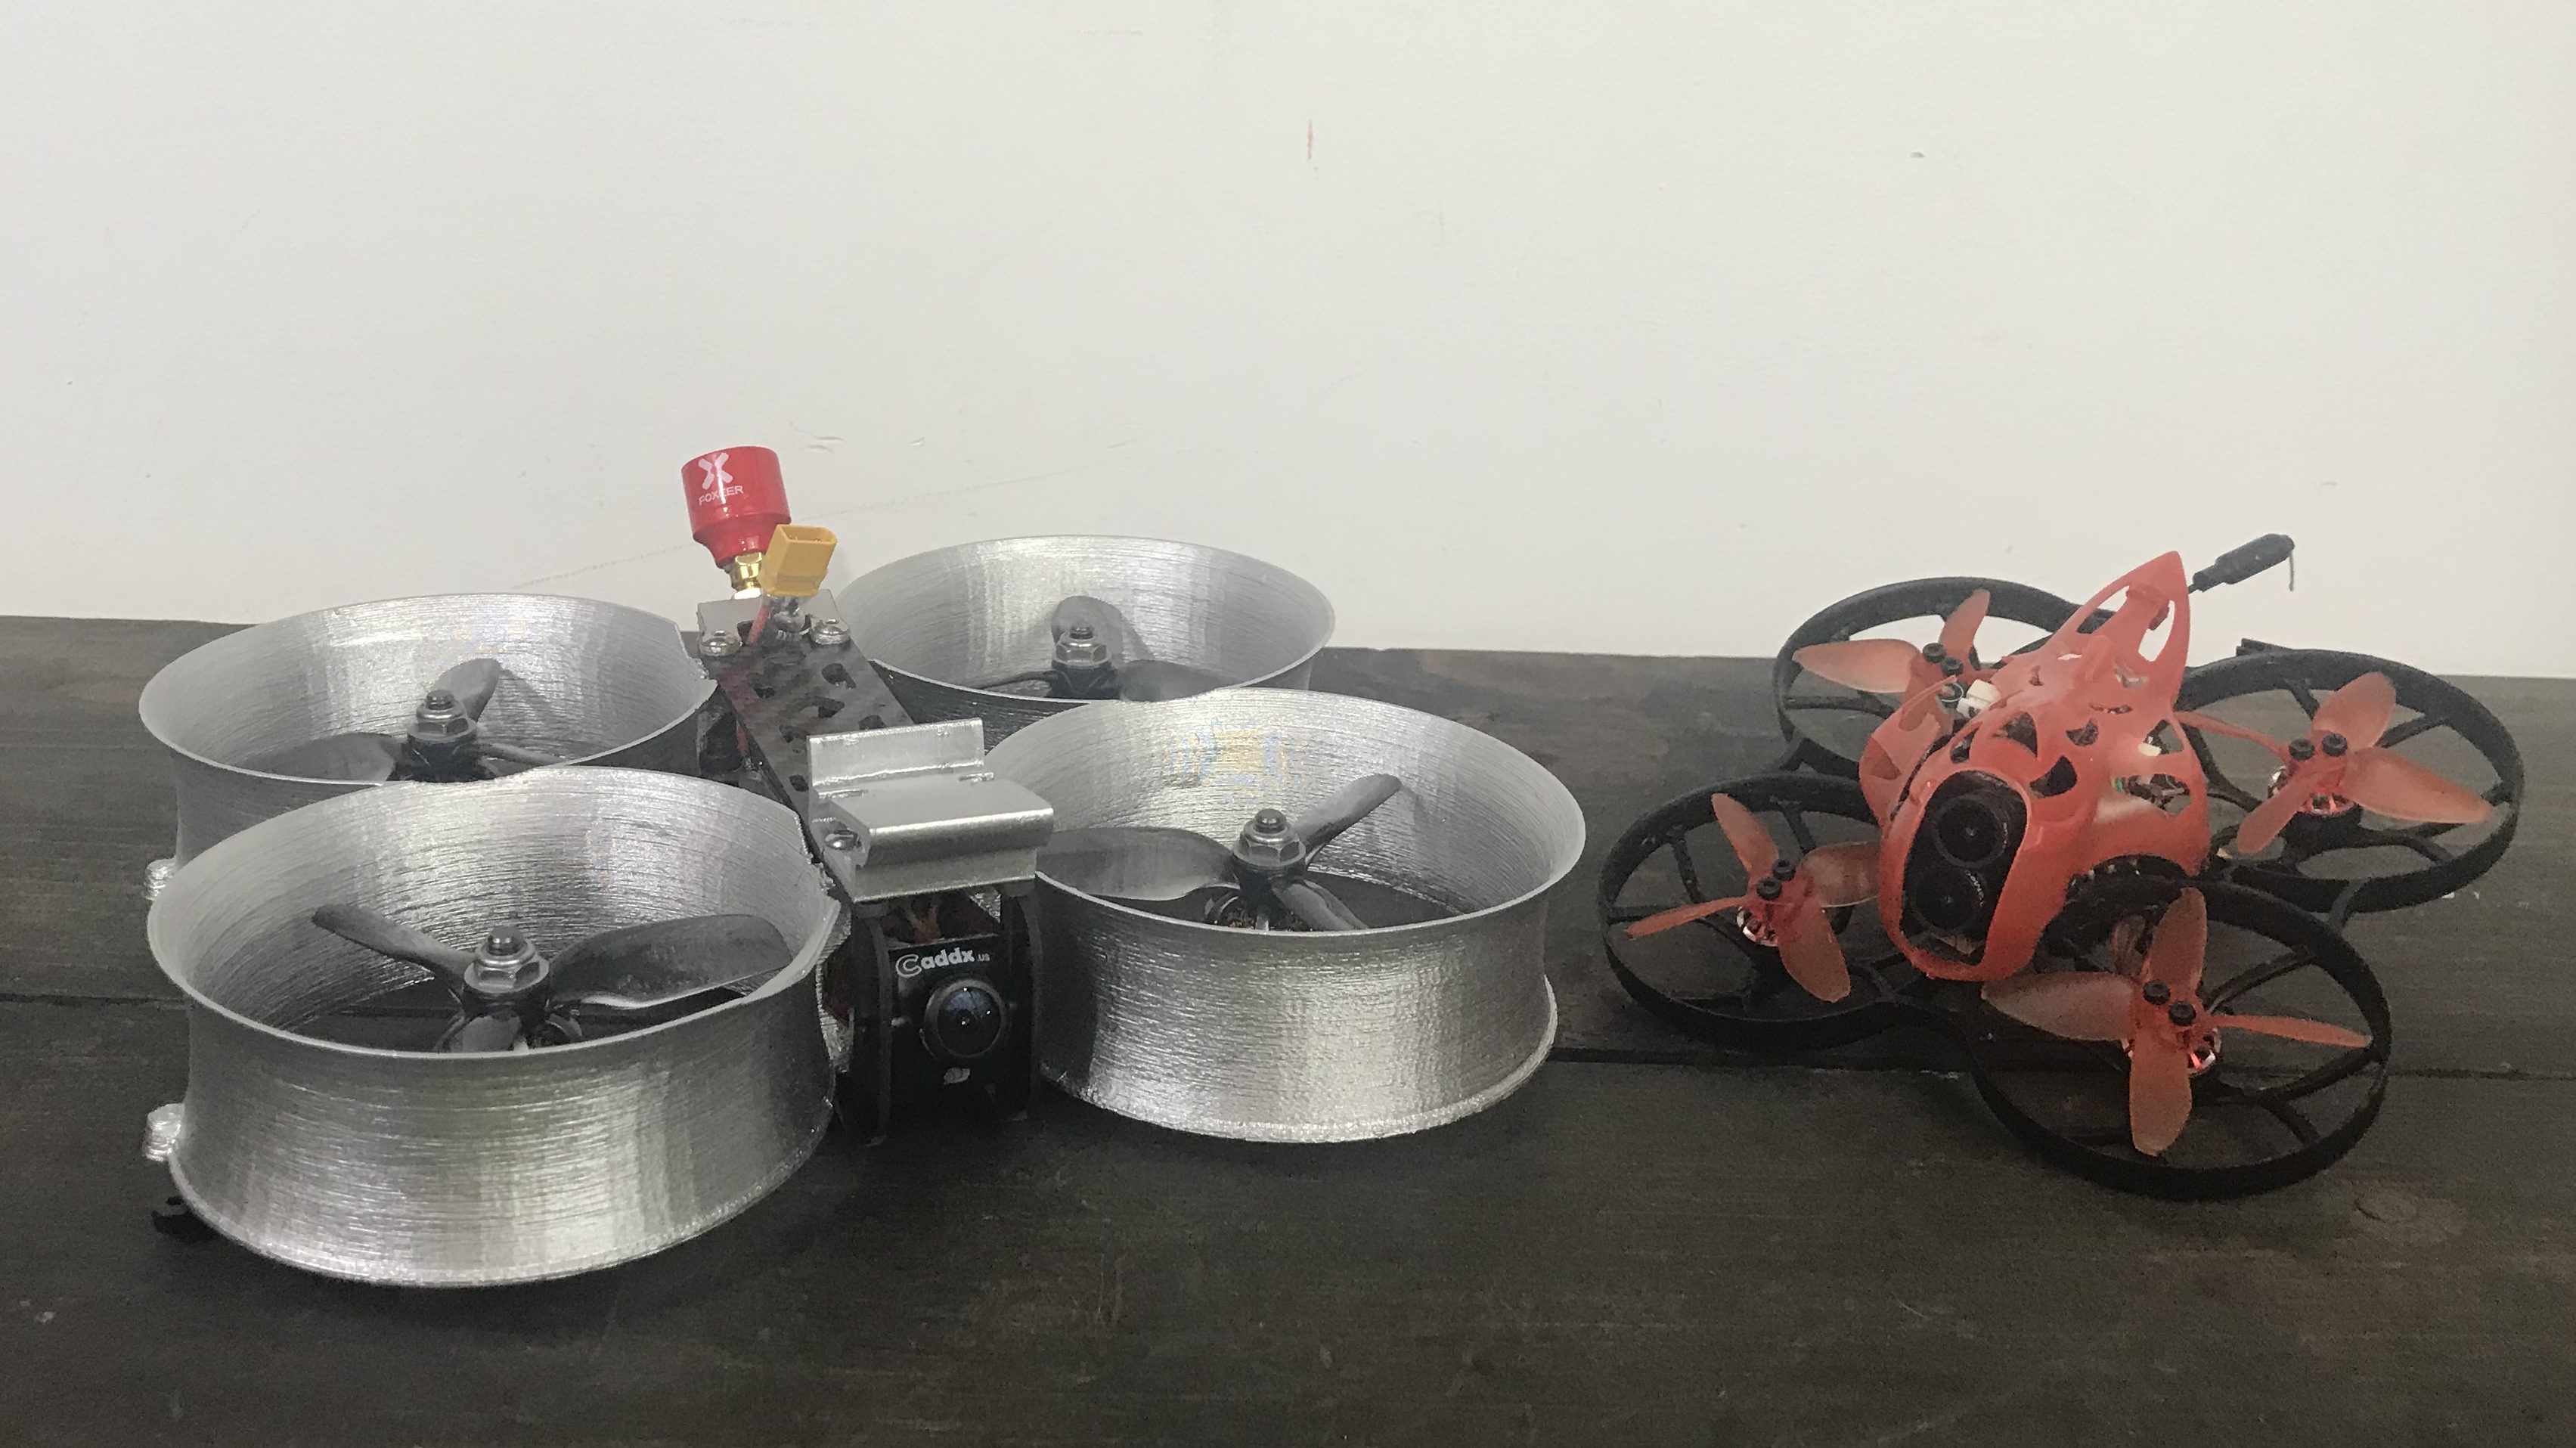
If you aren’t familiar with a cinewhoop that’s ok. It is a relatively new style of drone and was created because filmmakers needed a smaller and safer option while working in tight quarters. Unlike a Mavic or a Phantom it isn’t typically flown line of sight but rather through FPV goggles. This allows the pilot more precision and control while filming. It also takes a lot more practice to do well.
The Half Chrome Cinewhoop
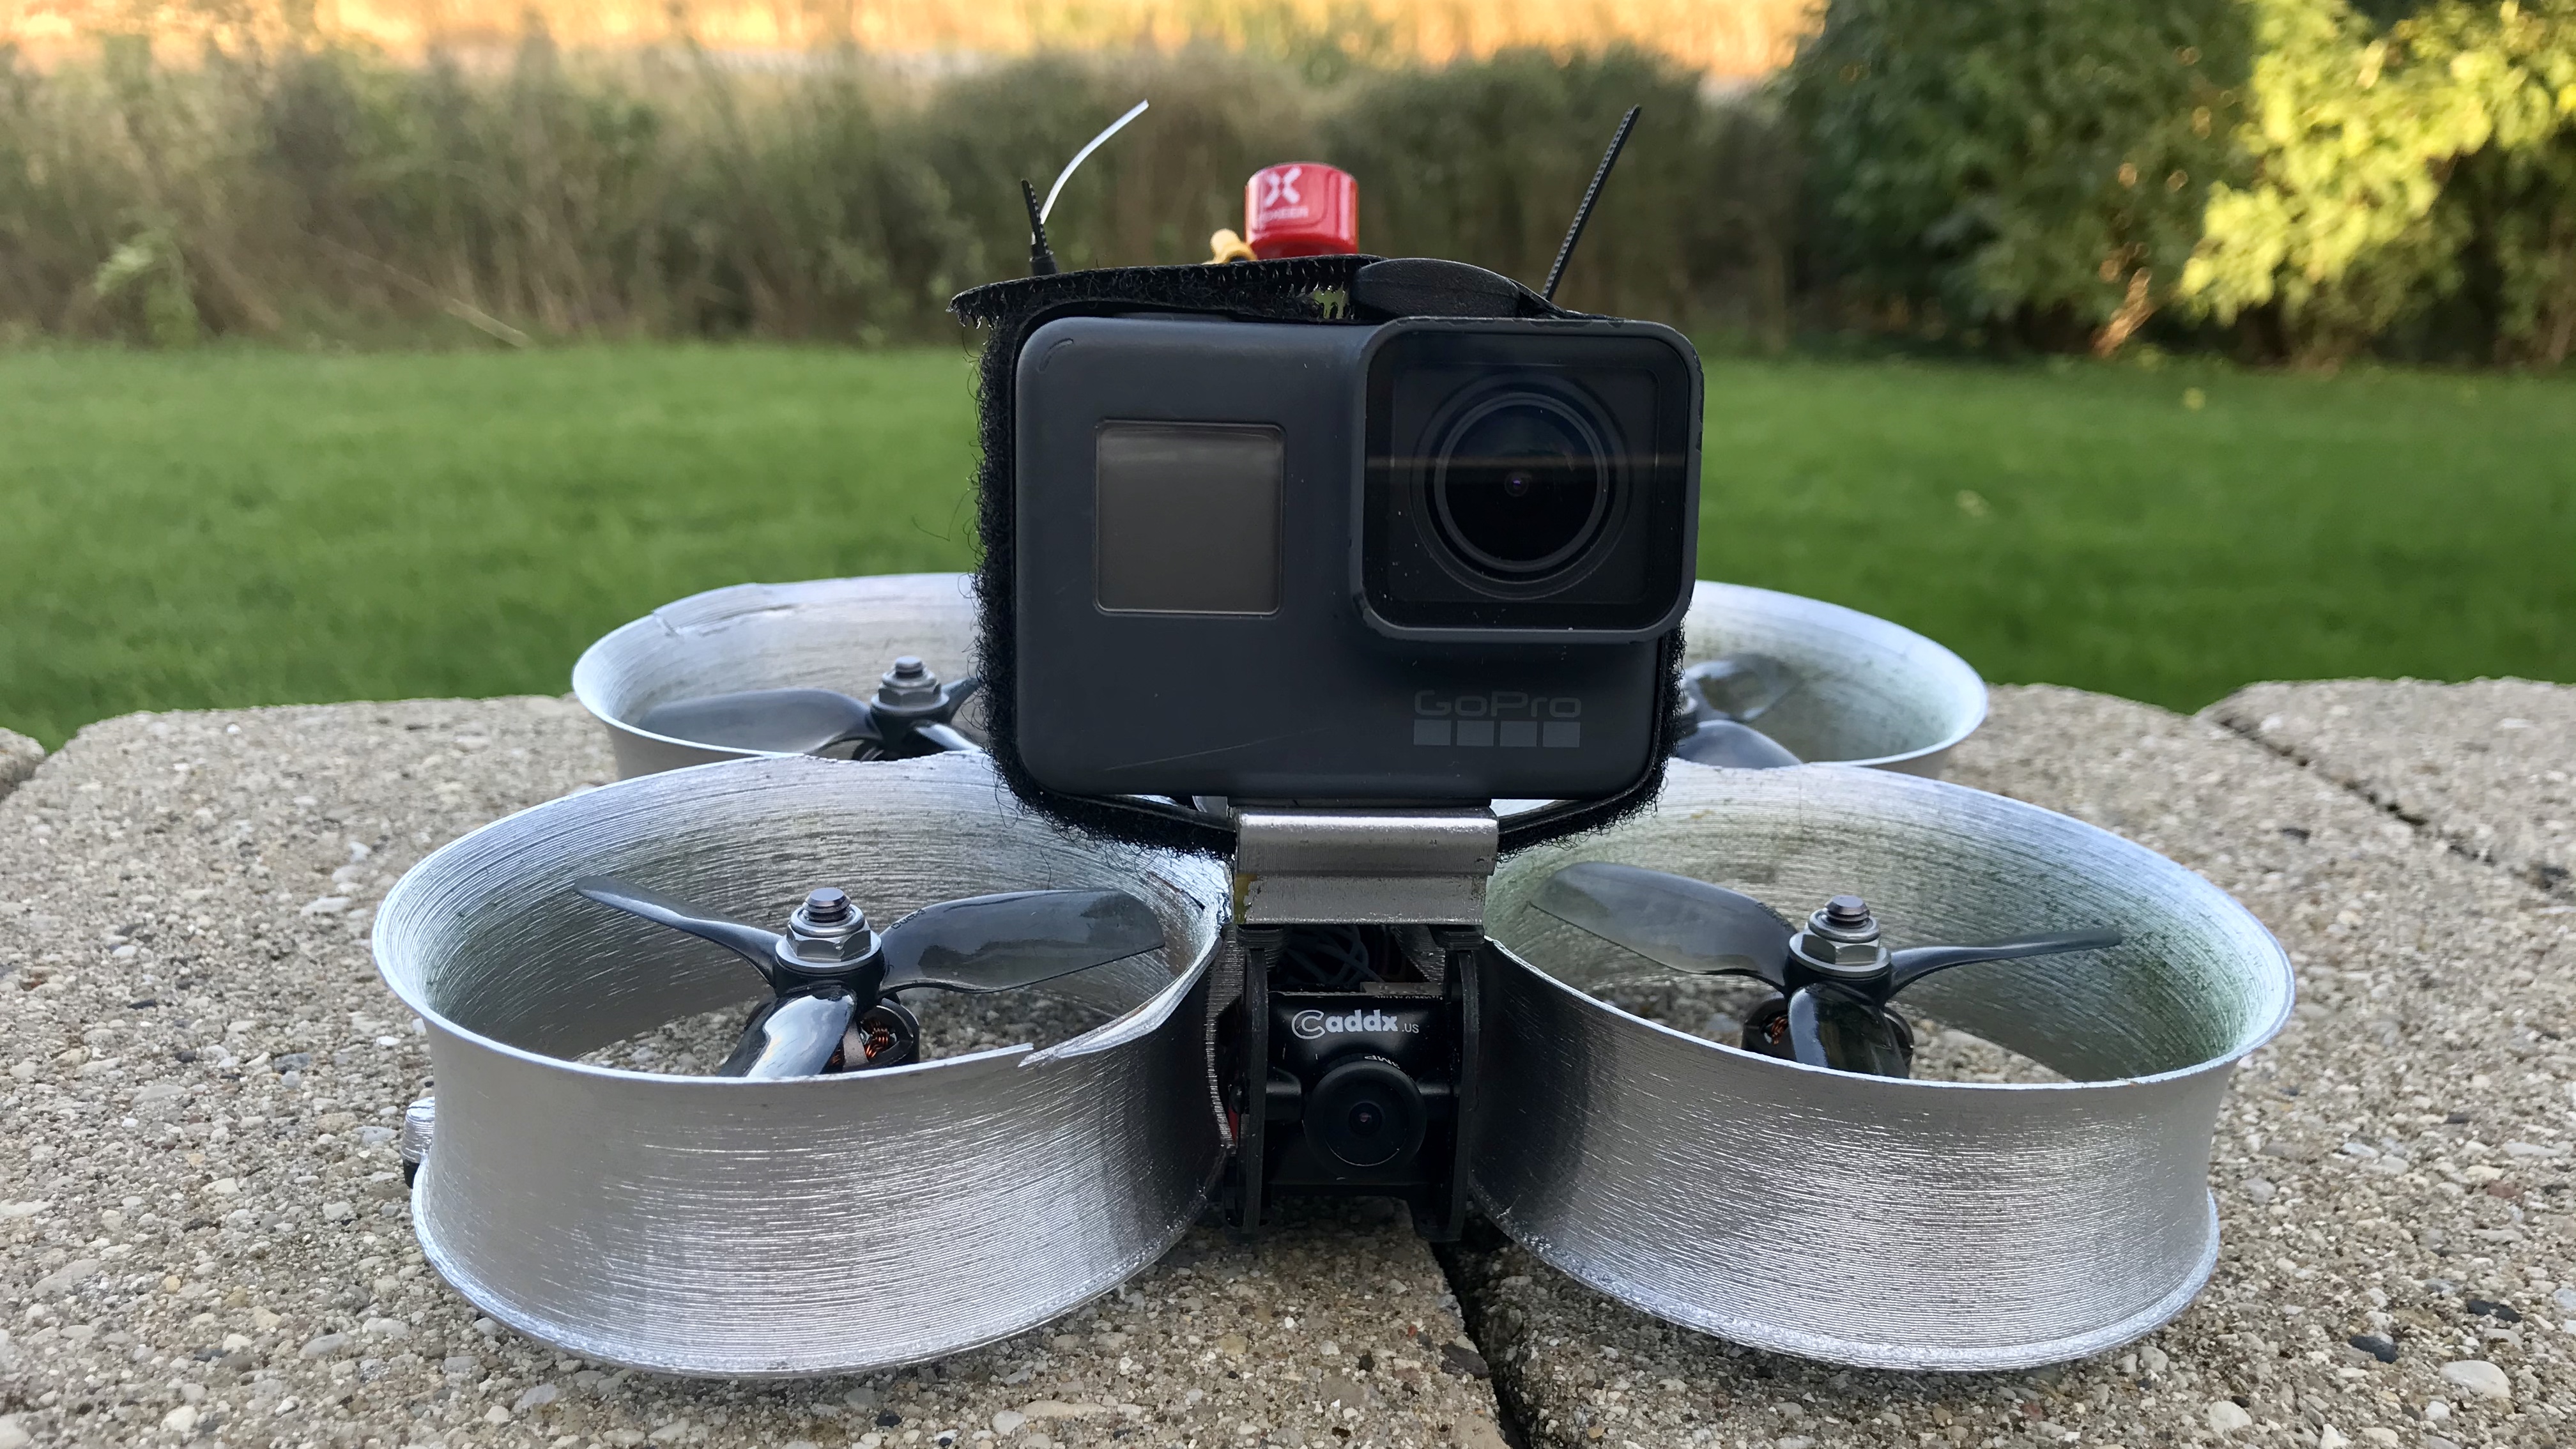
First, let me say that I absolutely love this thing. It is my first all from scratch build and it flies awesomely. No, it doesn’t have the raw power of a 5″ racer or freestyle drone. But that isn’t the point. I wanted to build something that could carry my GoPro and had ducts so I could fly around obstacles and things that might be sensitive to potential crashes. Let me break down the build and the components I used. I’ll give you the basic and the premium options and you can decide for yourself which you think you want to put into your build. When I put this together there wasn’t a kit available. But as it turns out Banggood put together a great starting package using the same components I recommend. You can get the frame, flight controller, ESC, motors, and props for just $116. You’ll still need some other things like a receiver but it is a great start.
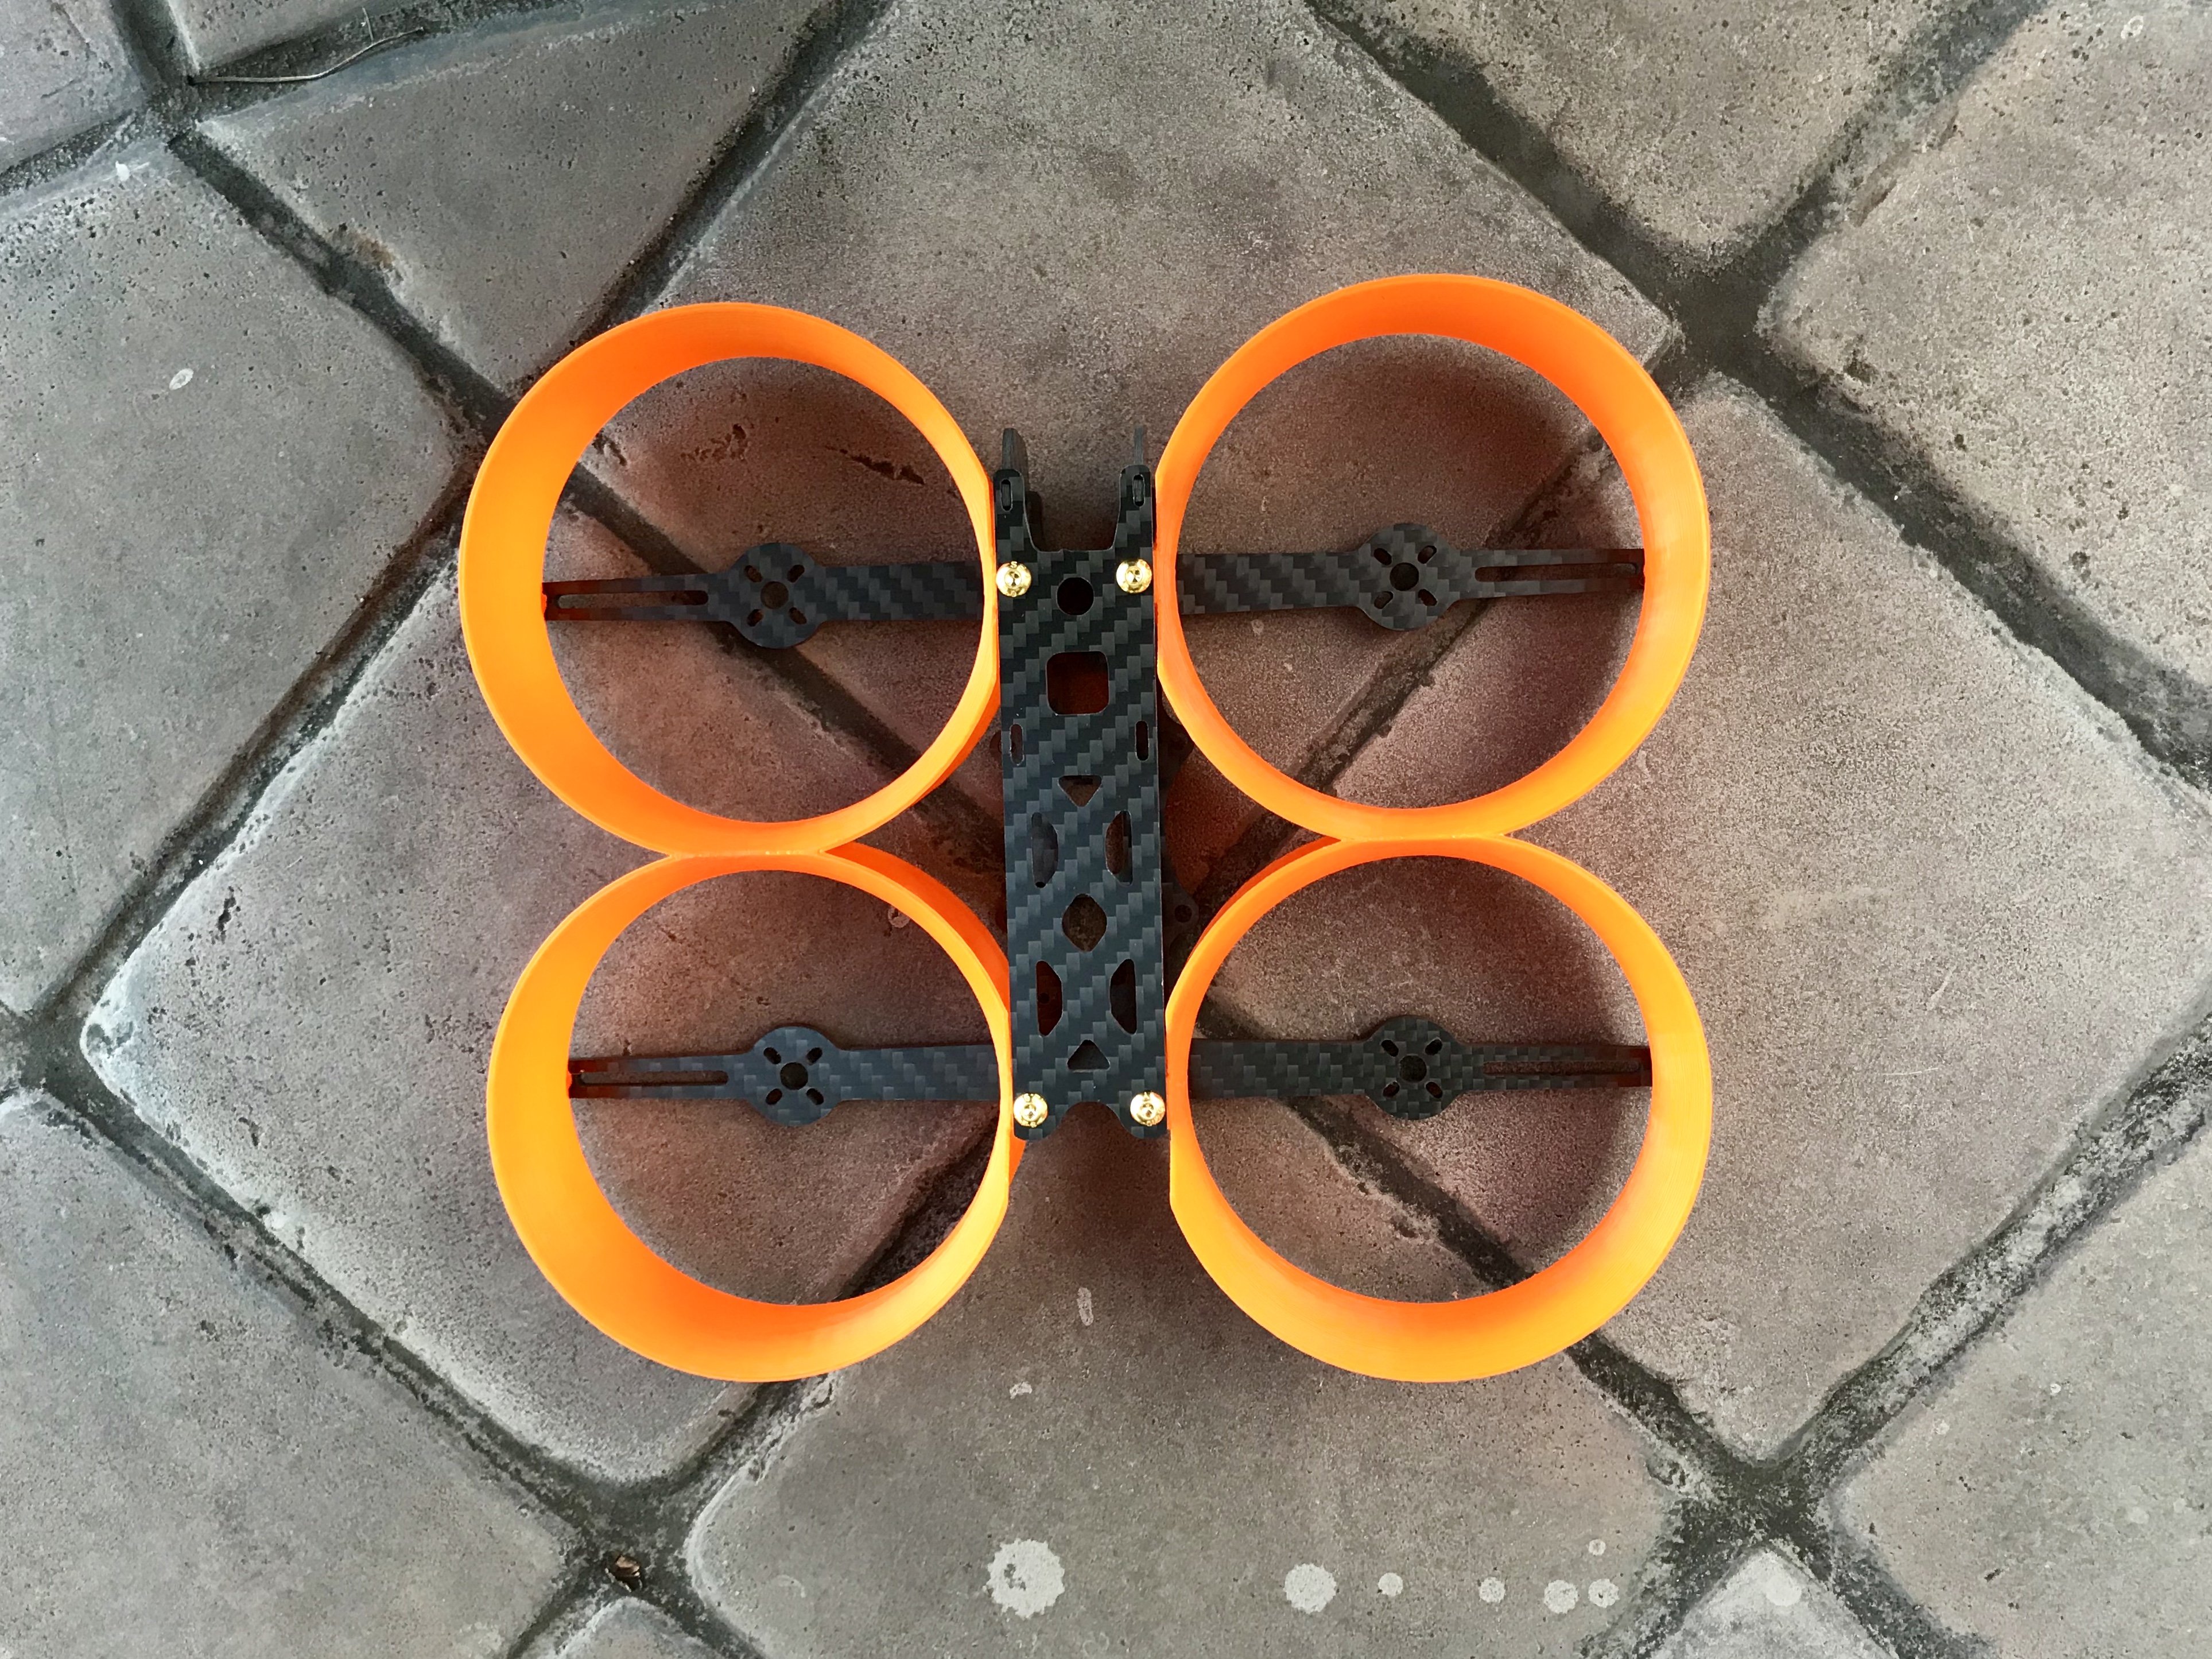
The Donut Frame
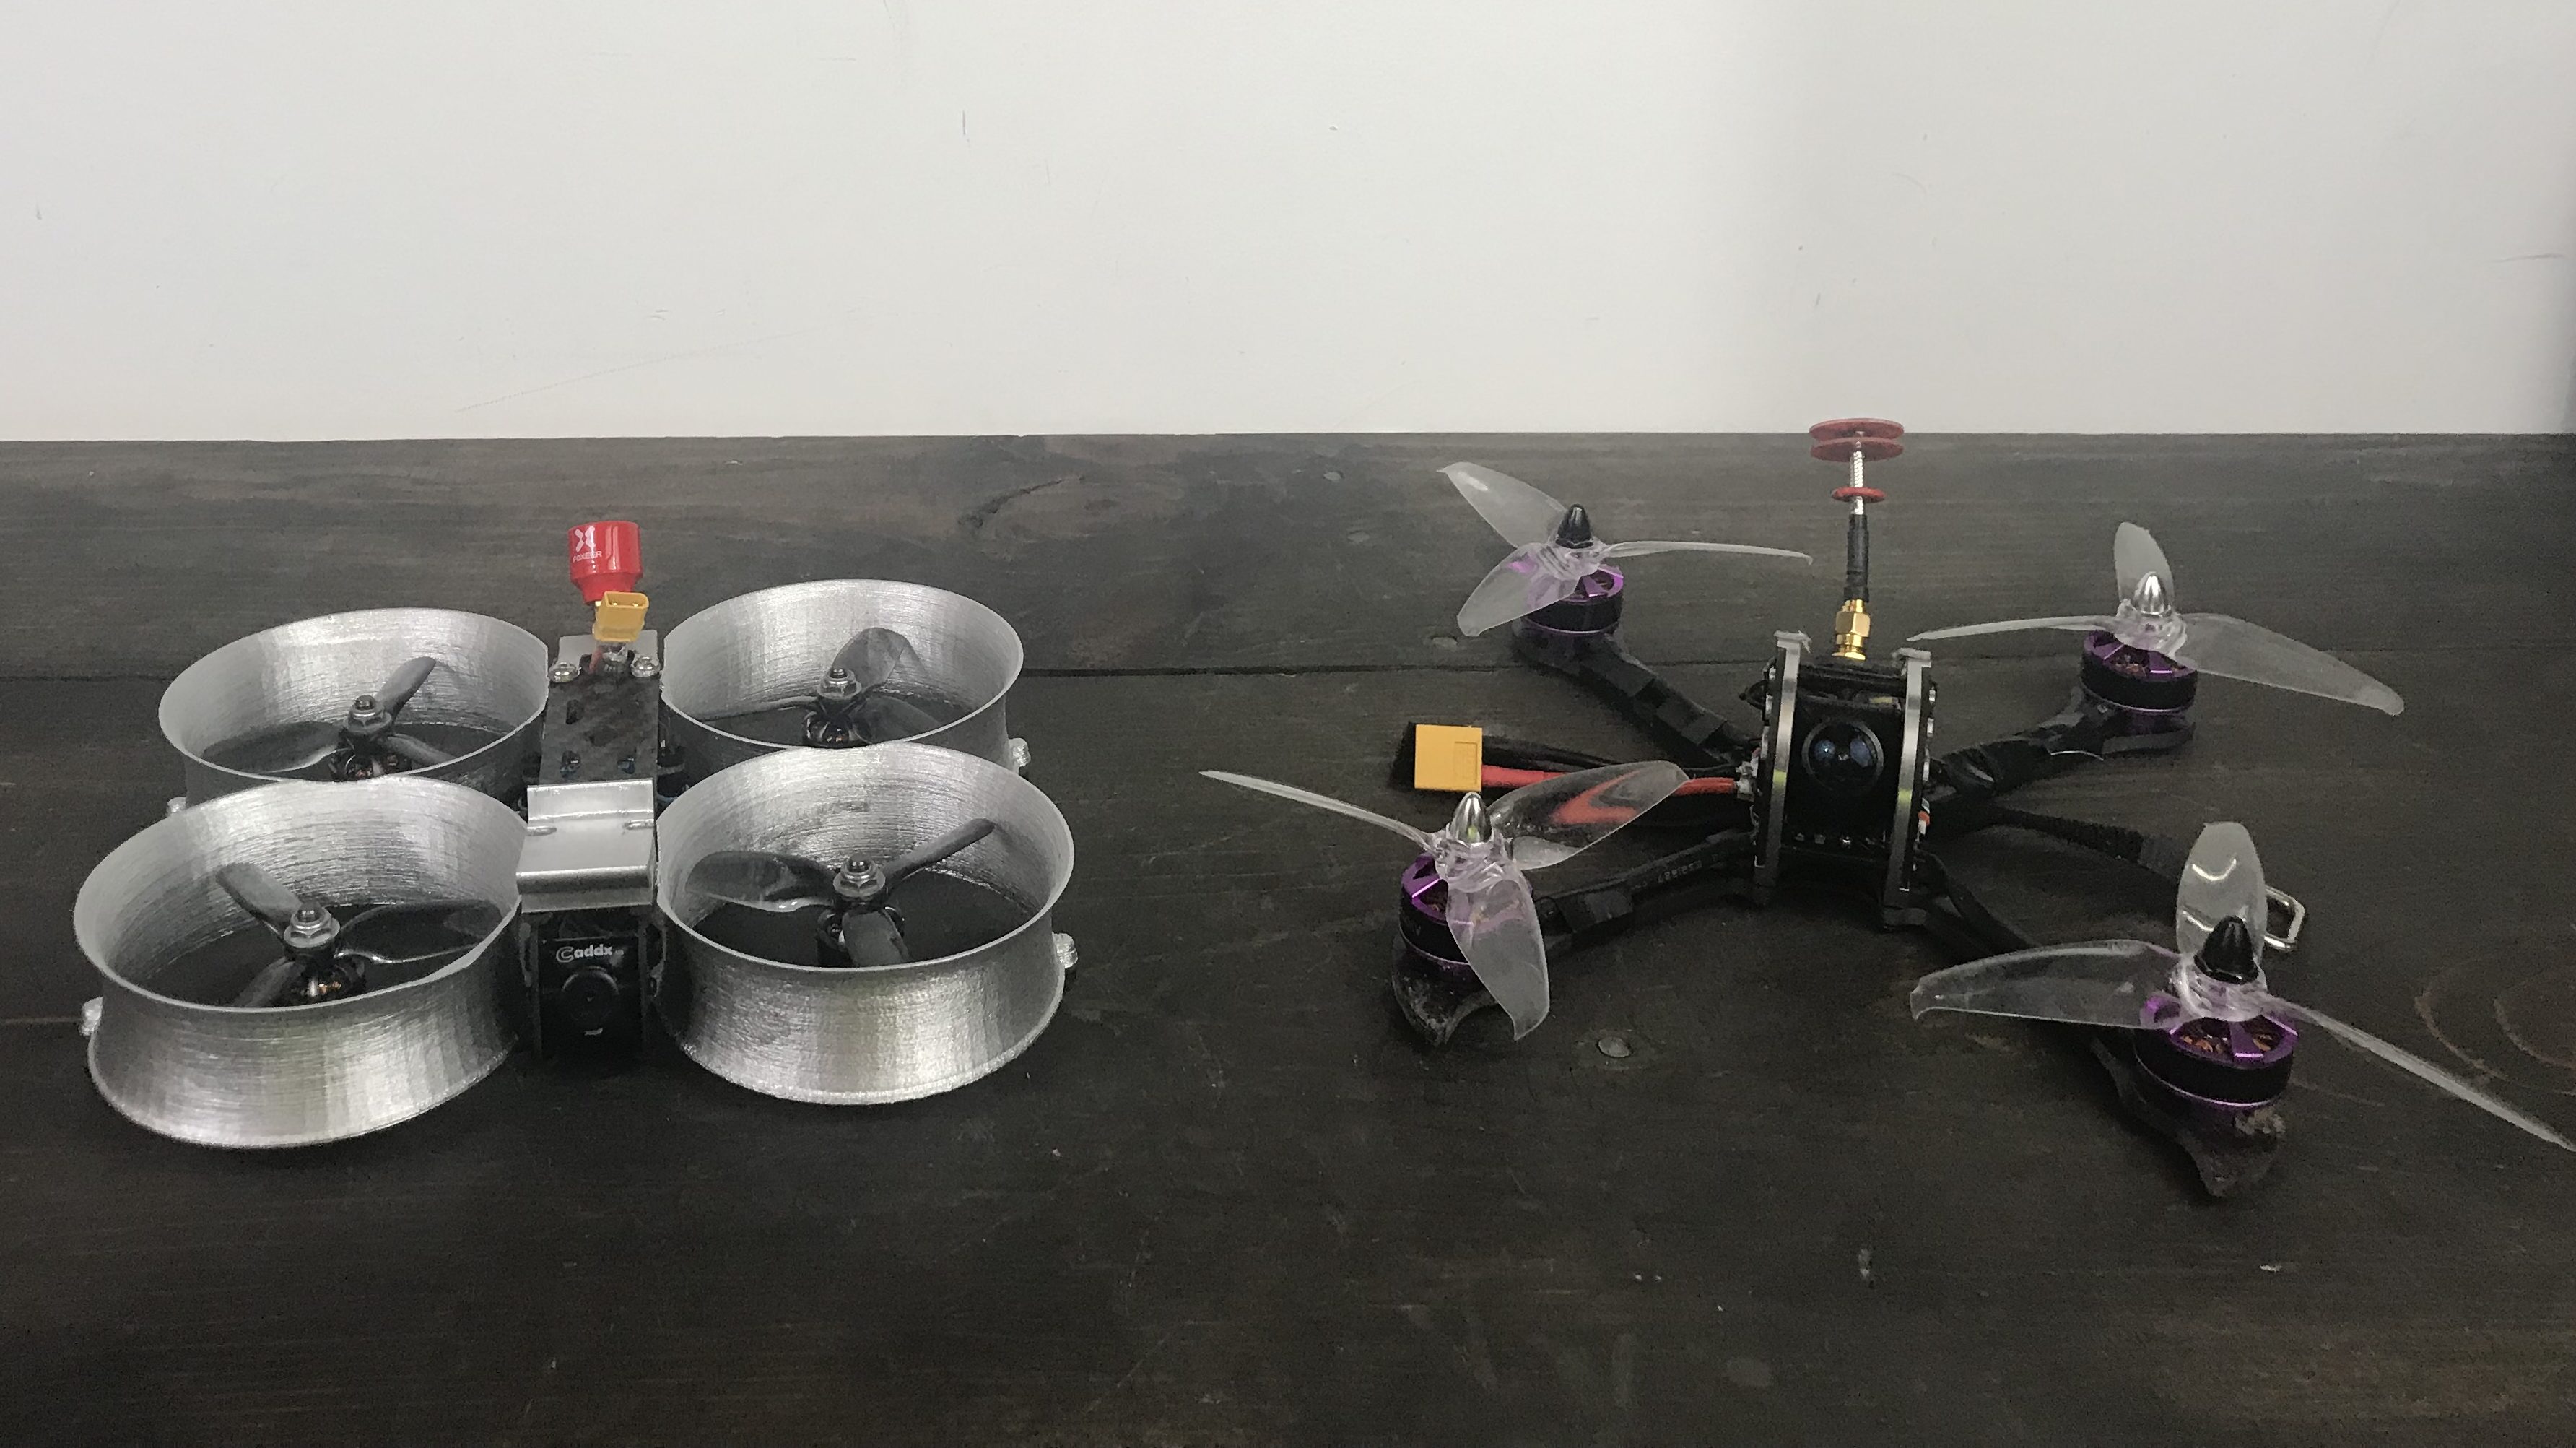
The frame I used was the $29 Donut. It is a 3″ ducted design and does the job. The later production models have higher quality TPU printed parts. There aren’t many other options even near this price range. There is the Shen Drones squirt but it is pricy at $95 and is often out of stock. Or you could opt for the already built iFlight Megabee for $285. I do like the Donut and it has served me well so far. My biggest gripe is the screws and how they mount to the ducts. I may look into printing my own with small bolts and nuts. I actually have two Donut frames and I’m happy to say that the ducts on the newer models seem to be better. The ducts all start out orange. I painted mine “chrome”.
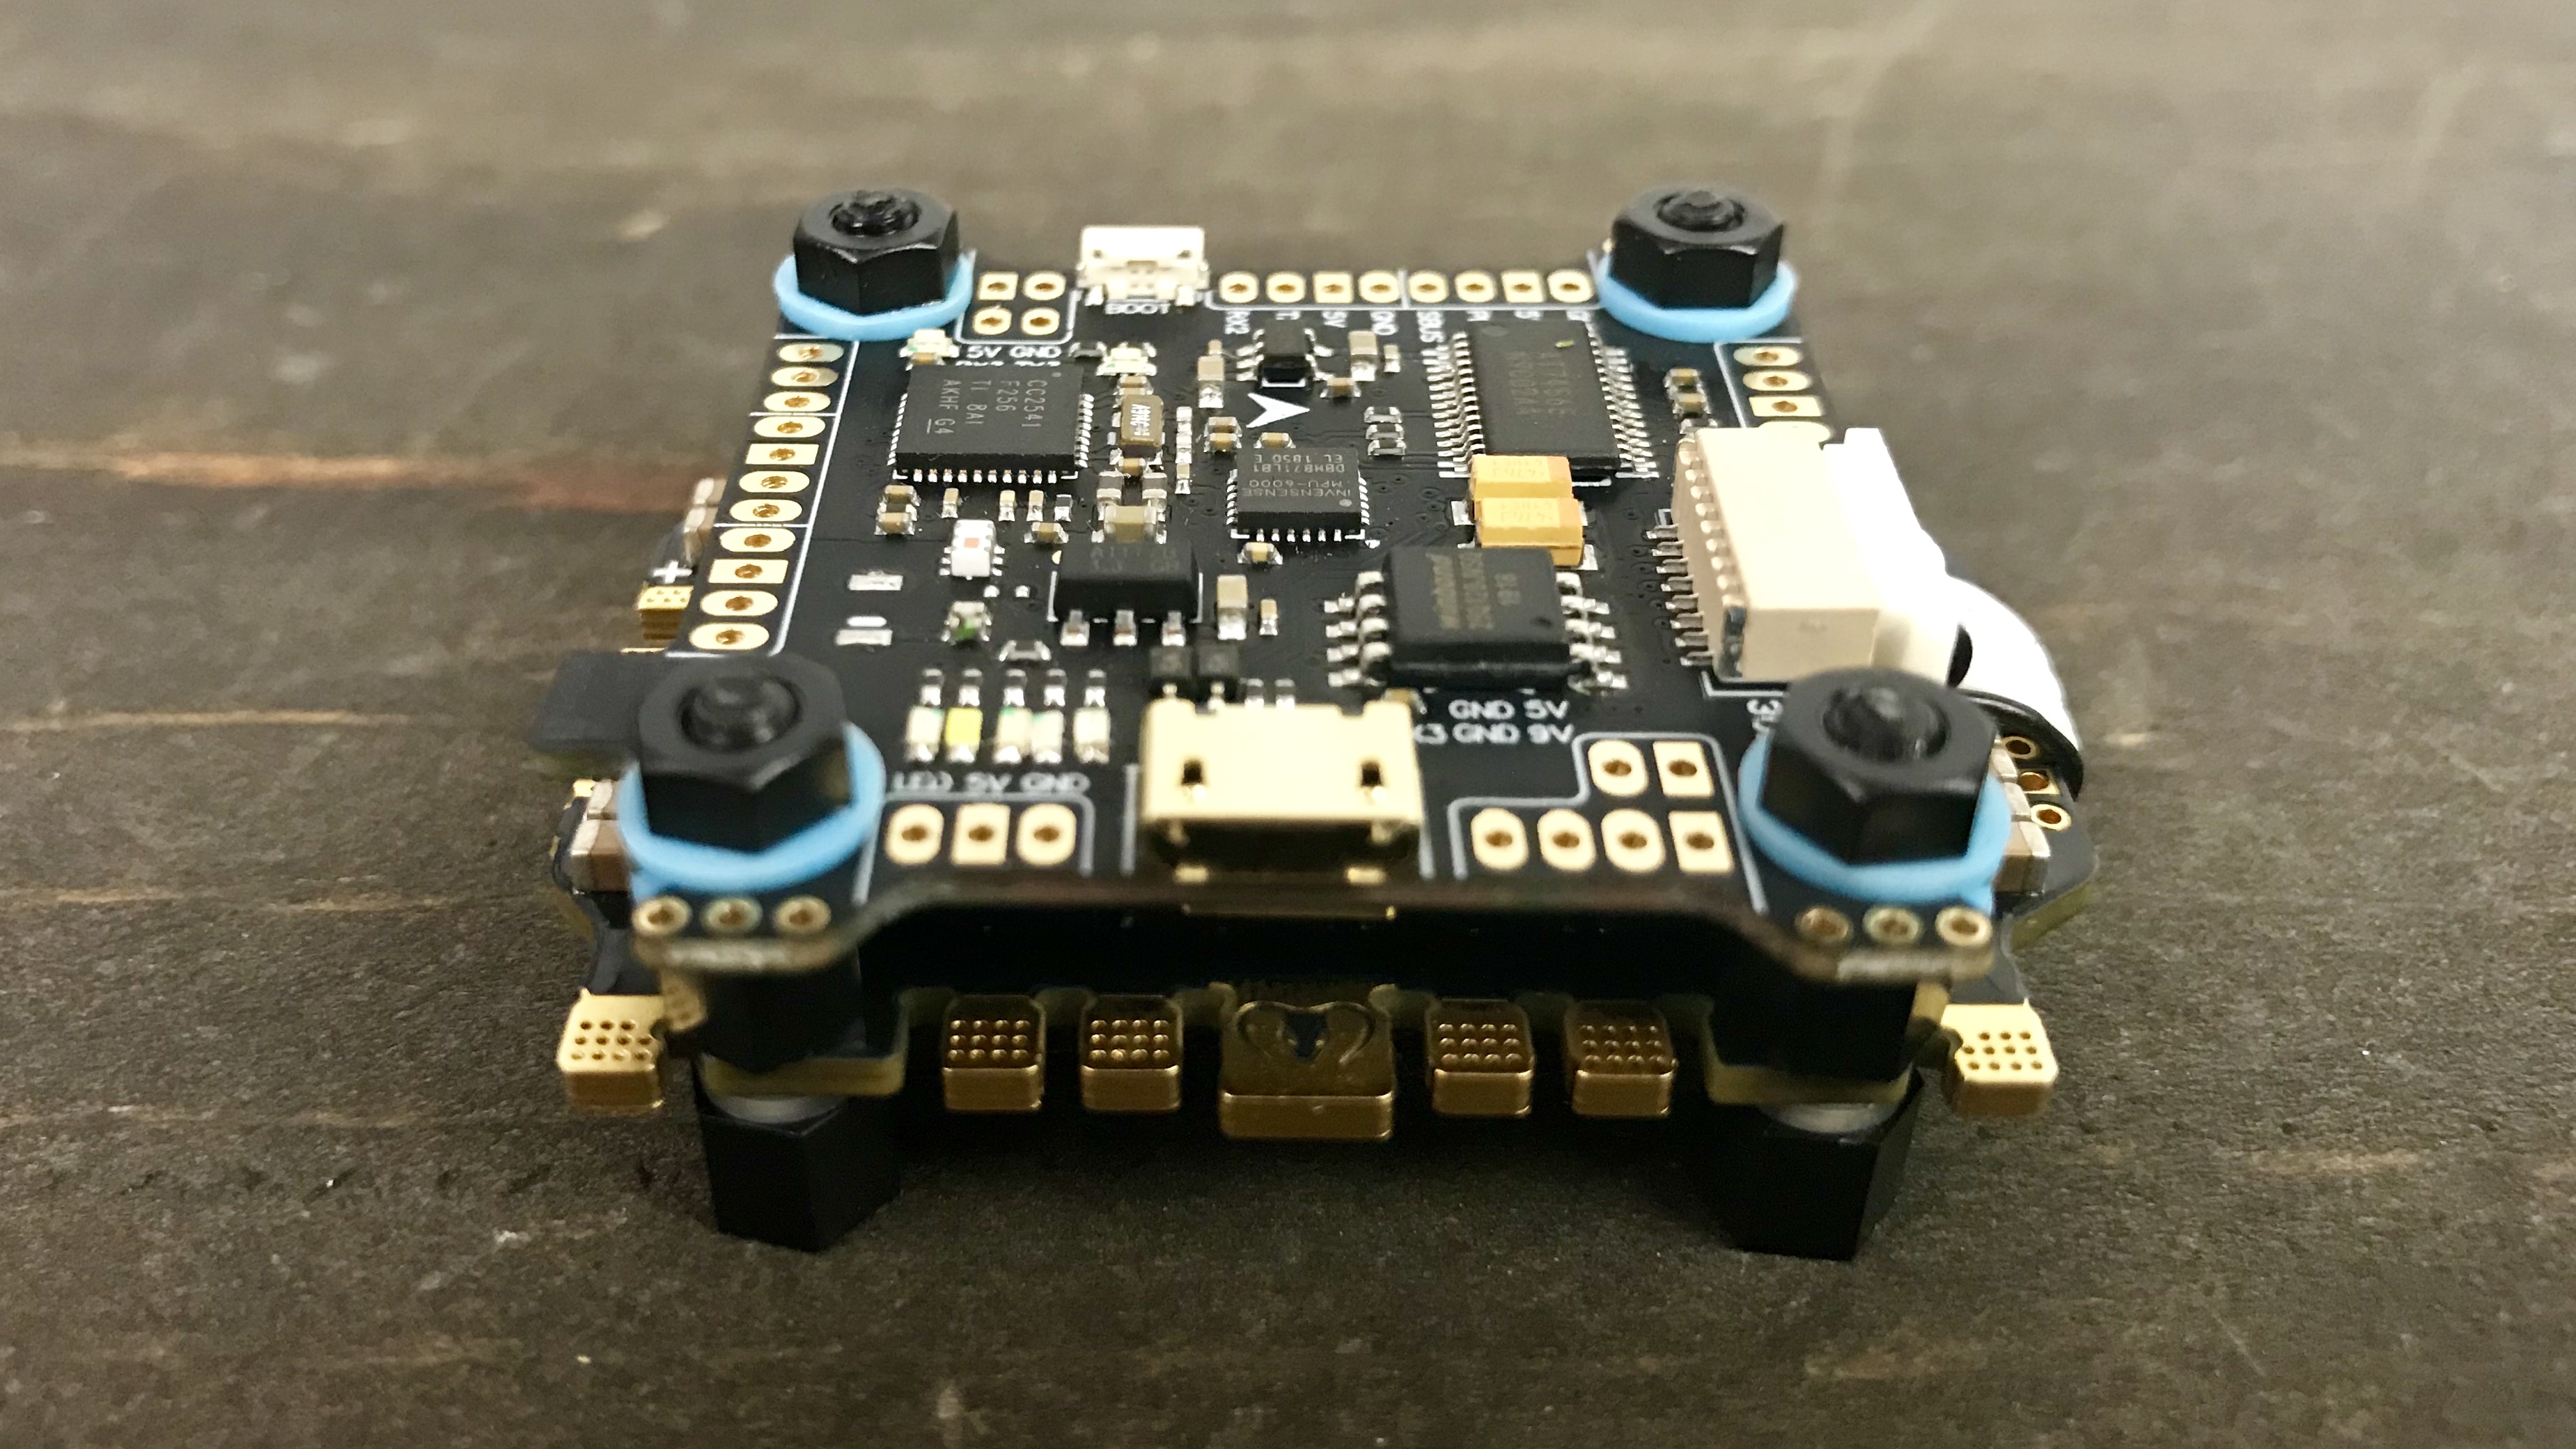
The Heart of the Whoop
There are plenty of flight controllers out there to use and I highly recommend picking up an all-in-one stack. I used the Mamba F7 stack. It is an absolute overkill but Banggood sent me an extra one to test. I love that it has Speedybee Bluetooth so I can connect to Betaflight on my phone, rather than having to plug into a USB with my computer. That is particularly important as the USB port is blocked by the ducts and they have to be removed to get to it. The Mamba F7 is a little bit larger than most boards and it is a tad large for the build. Everything fits fine but it is a tight squeeze. I would actually recommend the $35 Mamba F4 stack. It will do the job and is smaller than the F7 and will save you about $42.
Cinewhoop Motors
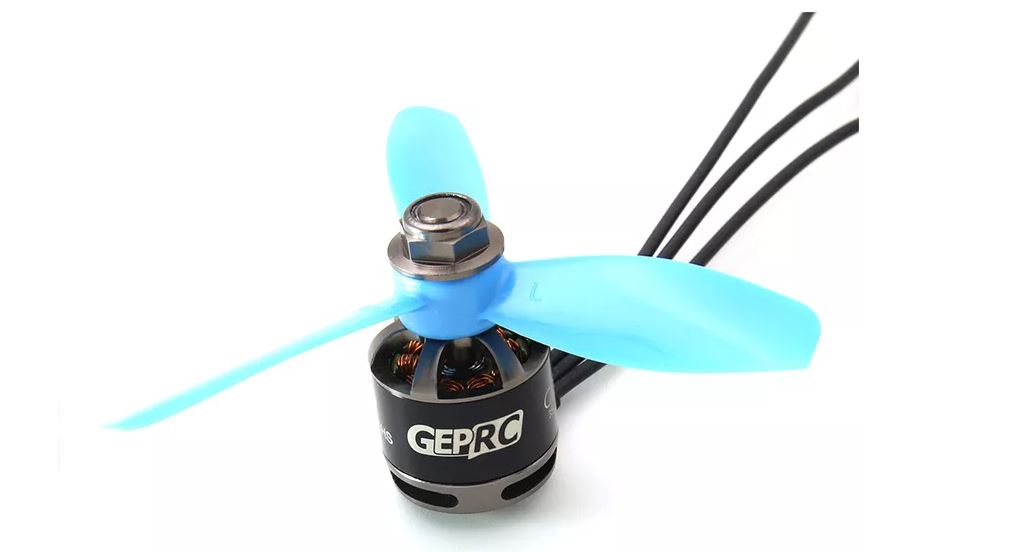
The motors I chose were the GEPRC 1408 3750KV motors. They are good solid motors and get the job done. Personally I wish I would have gone with the slightly lower 3500 KV motors for a bit more control at the lower end of the throttle. At $13 each, they won’t break the bank and offer pretty solid value. If you want something slightly better I’d go with the iFlight Xing 1408 3600 KV motors. They will be a little bit more at $16 each. Both are solid options. I use the HQ 3″ props and they do great inside these ducts.
Video Transmitter
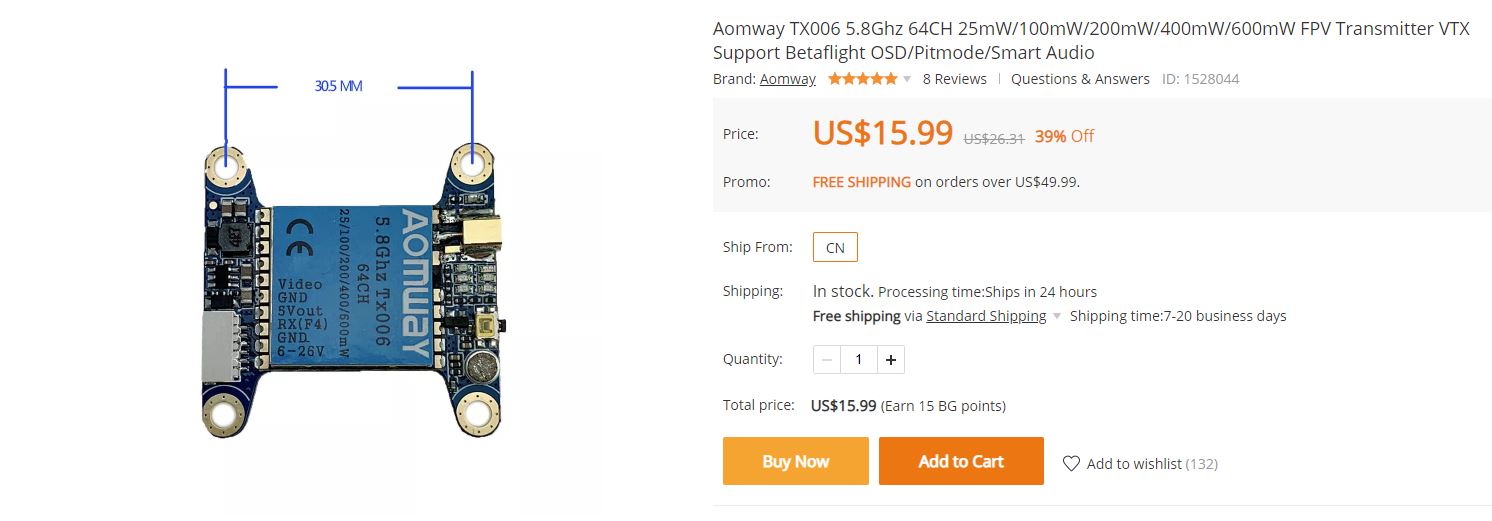
Choosing your video transmitter is largely dependant on where and how you’ll be flying. I went with the $16 economical Aomway TX006. It is switchable from 0-600 mw and does a nice job for me. If you want the best I’d recommend the $38 Rush Tank. For those of you that are Crossfire users, you may want to go this route. I used a Foxeer Lolipop antenna and they are $19 and typically sold in pairs. If you only want one then I’d recommend the RealACC Stubby antenna. You can get a pair of them for only $9.
FPV Camera
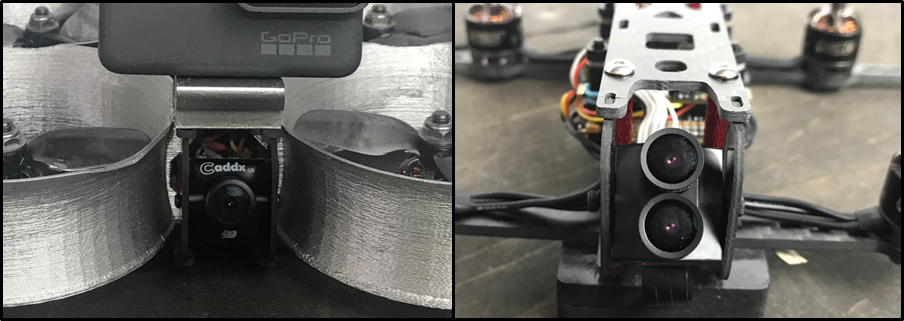
I used the Caddx Turbo EOS2 as my FPV camera. Think it produces a fantastic picture and is only $16. I toyed with the idea of using the Caddx Tarsier 4K camera. The Tarsier is an innovative product. It combines two cameras. One super high-quality FPV camera with a 4K camera that is capable of capturing onboard footage. If you chose to go with the Caddx Tarsier you could forgo the GoPro if you wanted. In the end I didn’t opt for the Tarsier as it is $70 and I really wanted to use my GoPro.
HD Camera
If you opt for the Tarsier then you’ve got this covered. The obvious answer is you want the new GoPro 8. It shoots incredible stabilized footage but it, of course, isn’t cheap. At $399 it will set you back a bit. You can actually get a pretty solid action camera on Amazon for less than $100. I’m also a big fan of the session style Foxeer Box 2 camera. It is smaller and will only cost you about $100.

Really this tool is up to you. There are a lot of really good options. The DJI Osmo Action has awesome stabilization. The Sony RXO ii has a 1″ sensor. I’ve been flying with my “old” GoPro Hero 5 and it looks great. Go with whatever camera you feel most comfortable flying…and crashing.
Receiver
The receiver you choose will largely be dependant on what remote controller you have. Personally I’m a FrSky guy. I fly most of my drones with my older Taranis X-Lite. If you have one of these or another Taranis the XM+ receiver is a good $18 option. I’ve also been using the new R9M Lite module ($65) and the R9 MM ($29) receiver with this setup and you’ll get Crossfire like range at a much lower cost.
Extras
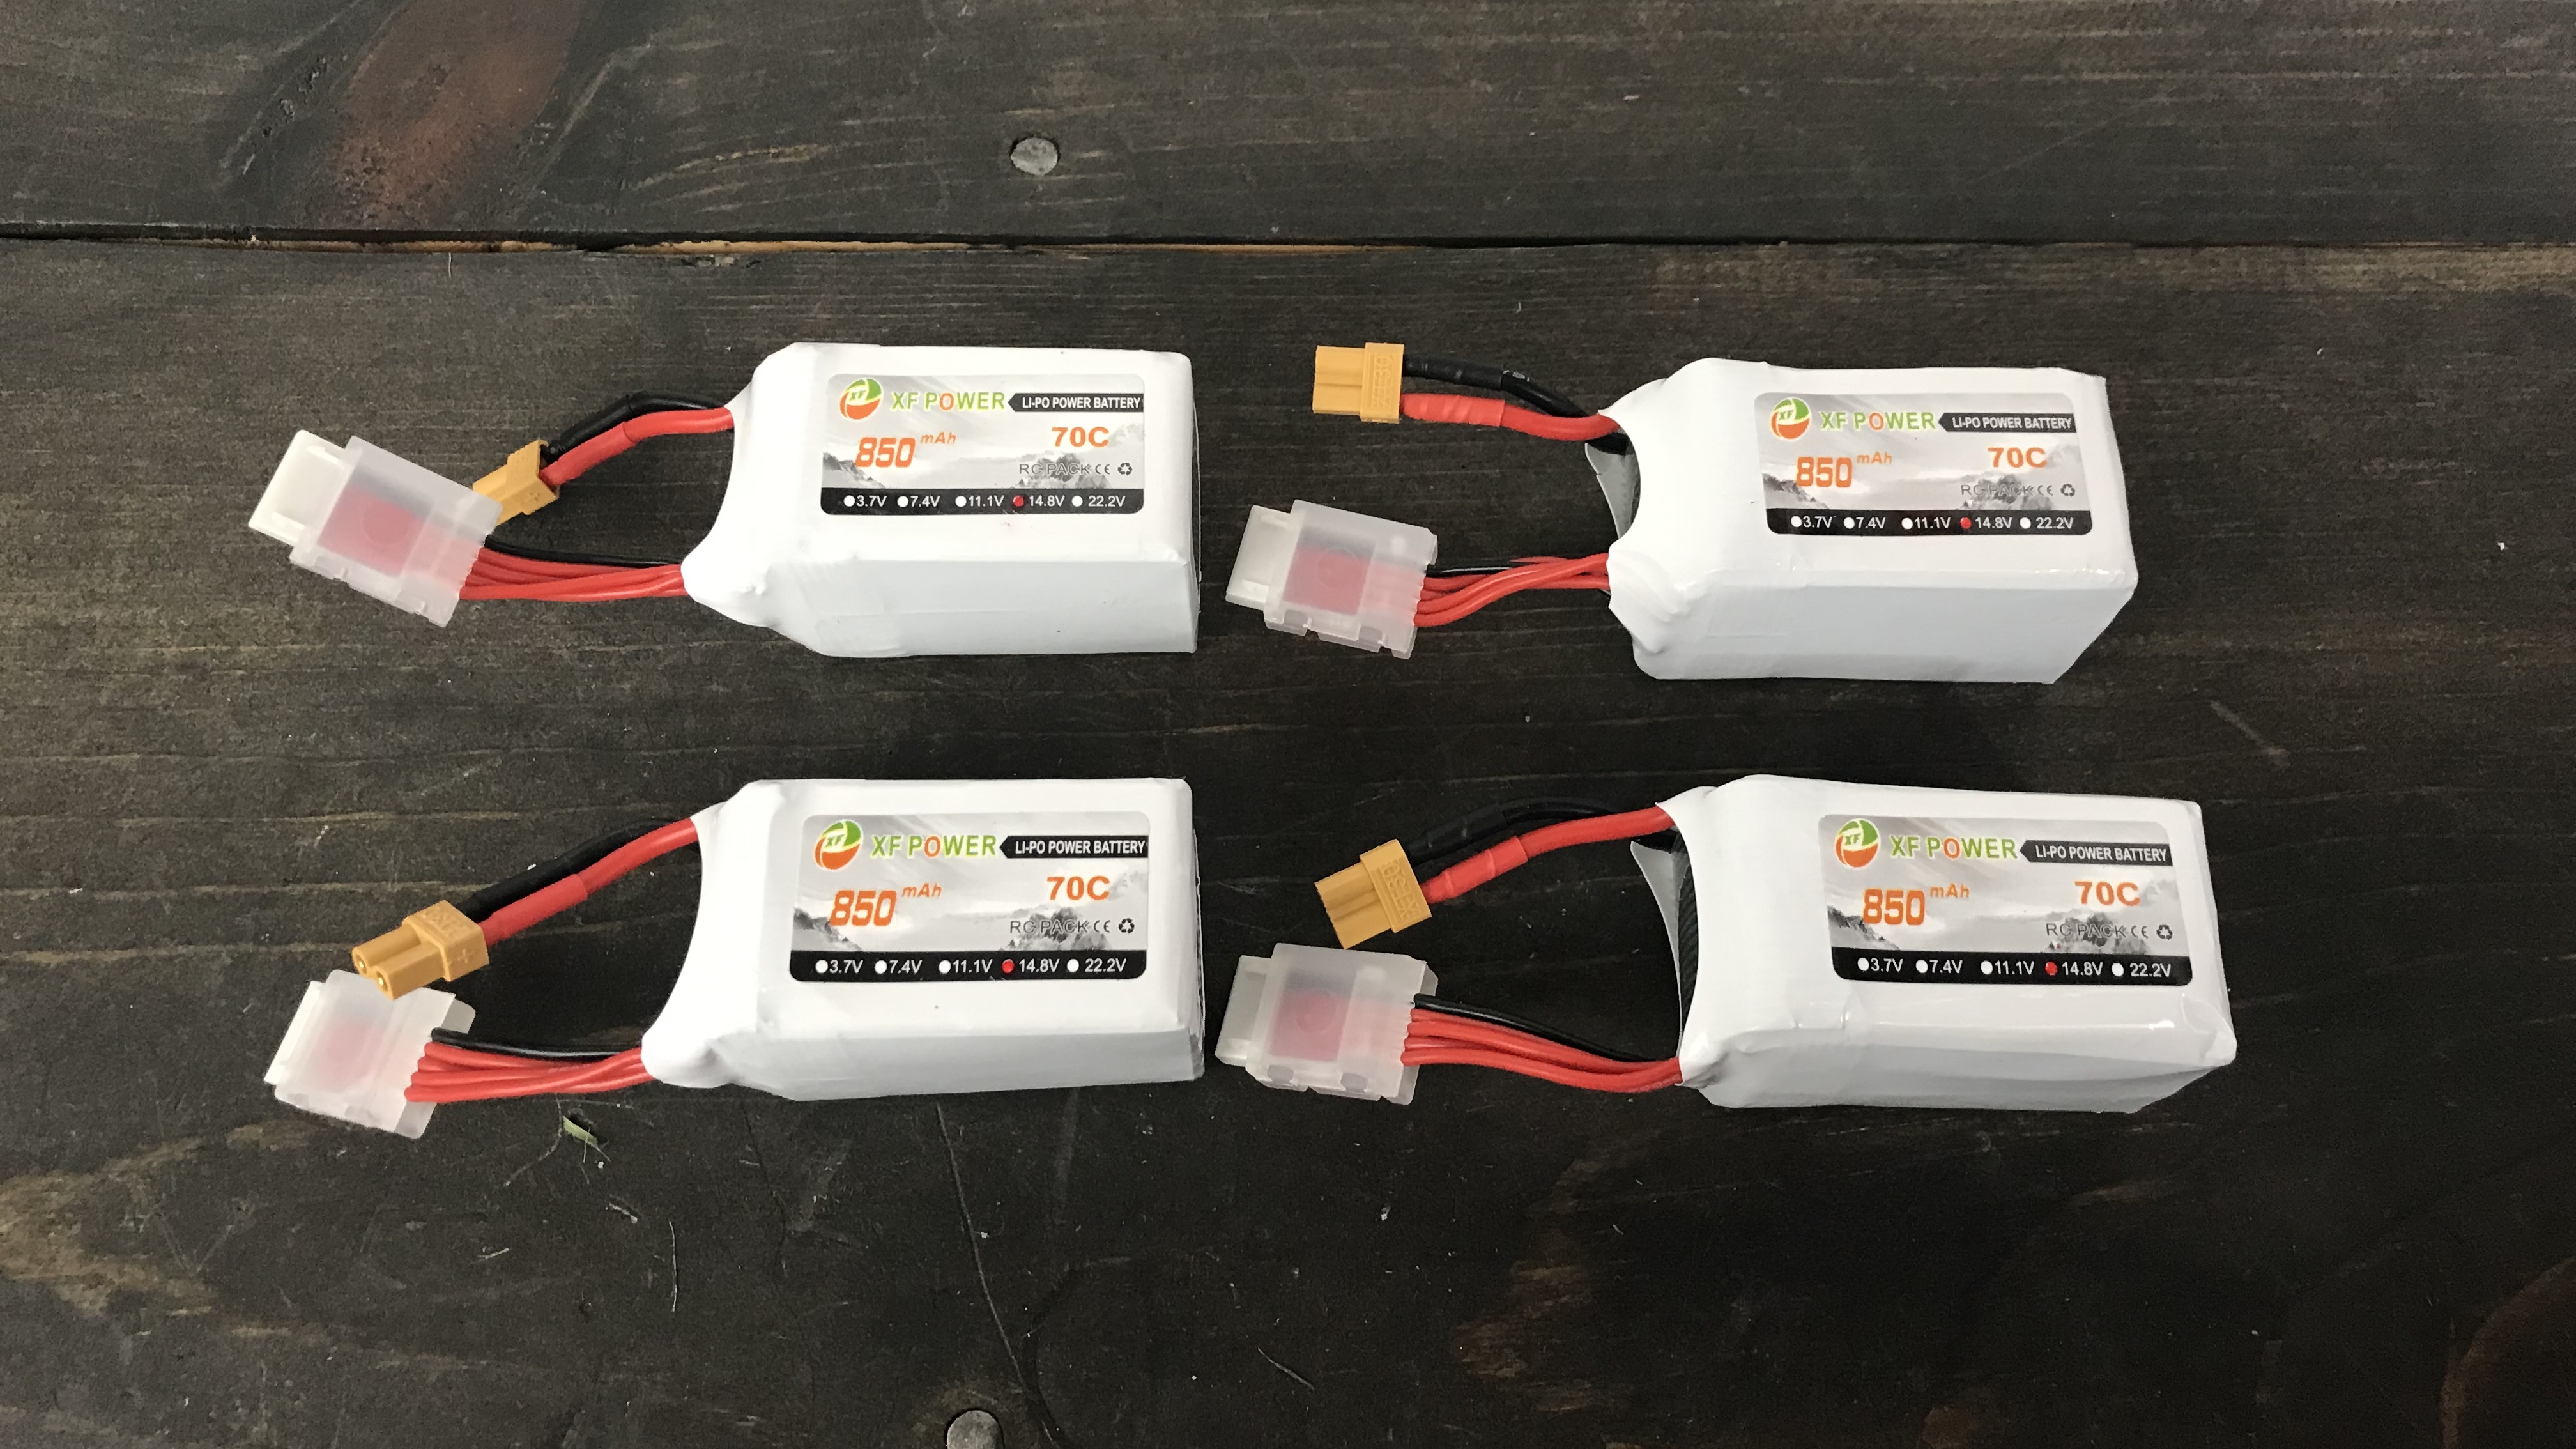
You’ll want to pick up batteries. You will have to decide if you go with an XT30 0r XT60 connector. I picked up some XF Power 850 mah 4S batteries. It was only $39 for 4 of them. GNB makes a higher quality battery but you’ll pay about $20 for each one. The XF Power definitely works, but I kind of wish I would have gone with the GNBs. Don’t forget to grab a battery strap. I like the RJX ones.
If you don’t have solder and a soldering iron you’ll definitely need both. I love my TS100. I can use it in the field and power it from a lipo battery. But it is a little pricey at $55. You can pick up a standard one for about $15. If you haven’t soldered before I’d highly recommend you get in some practice before you try on one of these boards. They are small and definitely aren’t easy for first-timers.
Flying a cinewhoop is a lot of fun. I think it is a tool that any aerial photographer needs to have in their toolbag. I love my Mavic 2 Zoom but it can’t do it all. When I need to fly in tight places or near obstacles the cinewhoop is the drone for the job. Get out and fly.
Cinewhoop Parts List
Here are the parts I used or links to suggestions to upgrade. The Donut Kit is a pretty solid place to start.
| Good Option | Premium Option | |
| Kit | $116 Donut Kit (Frame, FC, ESC, Motors and Props) | $285 iFlight Megabee (prebuilt cinewhoop) |
| Flight Controller and ESC | $35 F4 Mamba | $79 F7 Mamba |
| Frame | $29 Donut 3” | $95 Shen Drones Squirt |
| Motors | $13 each GEPRC 1408 3500KV | $16 iFlight Xing 1408 3600KV |
| VTX | $16 Aomway tx006 | $38 Rush Tank |
| Antenna | $9 RealACC Stubby | $19 Foxeer Lollipop |
| Battery | $39 for 4 XF Power 850 mah 4S (XT30) | $20 each GNB 850 mah 4S (XT60) |
| Props | $3 HQ Props | |
| Receiver | $18 FrSky XM Plus | $28 FrSky R9 MM |
| Remote | $89 FrSky X9 Lite | $199 FrSky X-Lite Pro |
| FPV Camera | $16 Caddx Turbo EOS2 | $70 Caddx Tarsier 4K |
| Camera | $99 Foxeer Box 2 | $310 GoPro Hero 7 |
| Soldering Iron | $15 Daniu Pro | $55 TS 100 |
| Battery Straps | $3 RJX Strap |
Should you build a Cinewhoop?
That depends entirely on you. Do you want crisp indoor cinematic footage? Do you need to fly in tight spaces? Can you pilot FPV or are you willing to learn? Personally I think it is a fantastic tool but it isn’t for everyone.
Thanks for visiting Half Chrome
Make sure you check out our YouTube channel so you can stay up to date with all things drone. Whether it is an aerial photography machine from DJI or a lightning-fast FPV racer we have you covered. We also use Facebook, Instagram, and Twitter to keep our readers and viewers up to date.
If you want to buy a drone we highly encourage you to use the links in the article above. By using them we’ll make a small commission but won’t cost you anything extra. It is how we are able to keep producing content for you. Check out our shop tab at the top for deals from Amazon, DJI, Banggood and more.
Make sure you check out some of our more popular pages like Best Drones Now, Aerial Photo Tips, Top Accessories and All Things FPV. Happy Flying.
Disclosure:
This website contains affiliate links, which means we receive a commission if you make a purchase using these links. For full details visit the disclosures and disclaimers page.

